Helm 介绍
helm 是 kubernetes 的包管理器。它相当于 CentOS 的 yum ,Ubuntu 的 apt 。
在 helm 中有三大概念:
Chart:Helm使用的包格式称为 chart。 chart 就是一个描述 Kubernetes 相关资源的文件集合。单个 chart 可以用来部署一些简单的, 类似于 memcache pod,或者某些复杂的 HTTP 服务器以及 web 全栈应用、数据库、缓存等Repo:chart 的存放仓库,社区的 Helm chart 仓库位于 Artifact Hub,也可以创建运行自己的私有 chart 仓库Release:运行在 Kubernetes 集群中的 chart 的实例。一个 chart 通常可以在同一个集群中安装多次,而每一次安装都会创建一个新的 release
总结:Helm 安装 charts 到 Kubernetes 集群中,每次安装都会创建一个新的 release 。你可以在 Helm 的 chart repositories 中寻找新的 chart 。
准备阶段
拥有一个 Kubernetes 集群,如下:
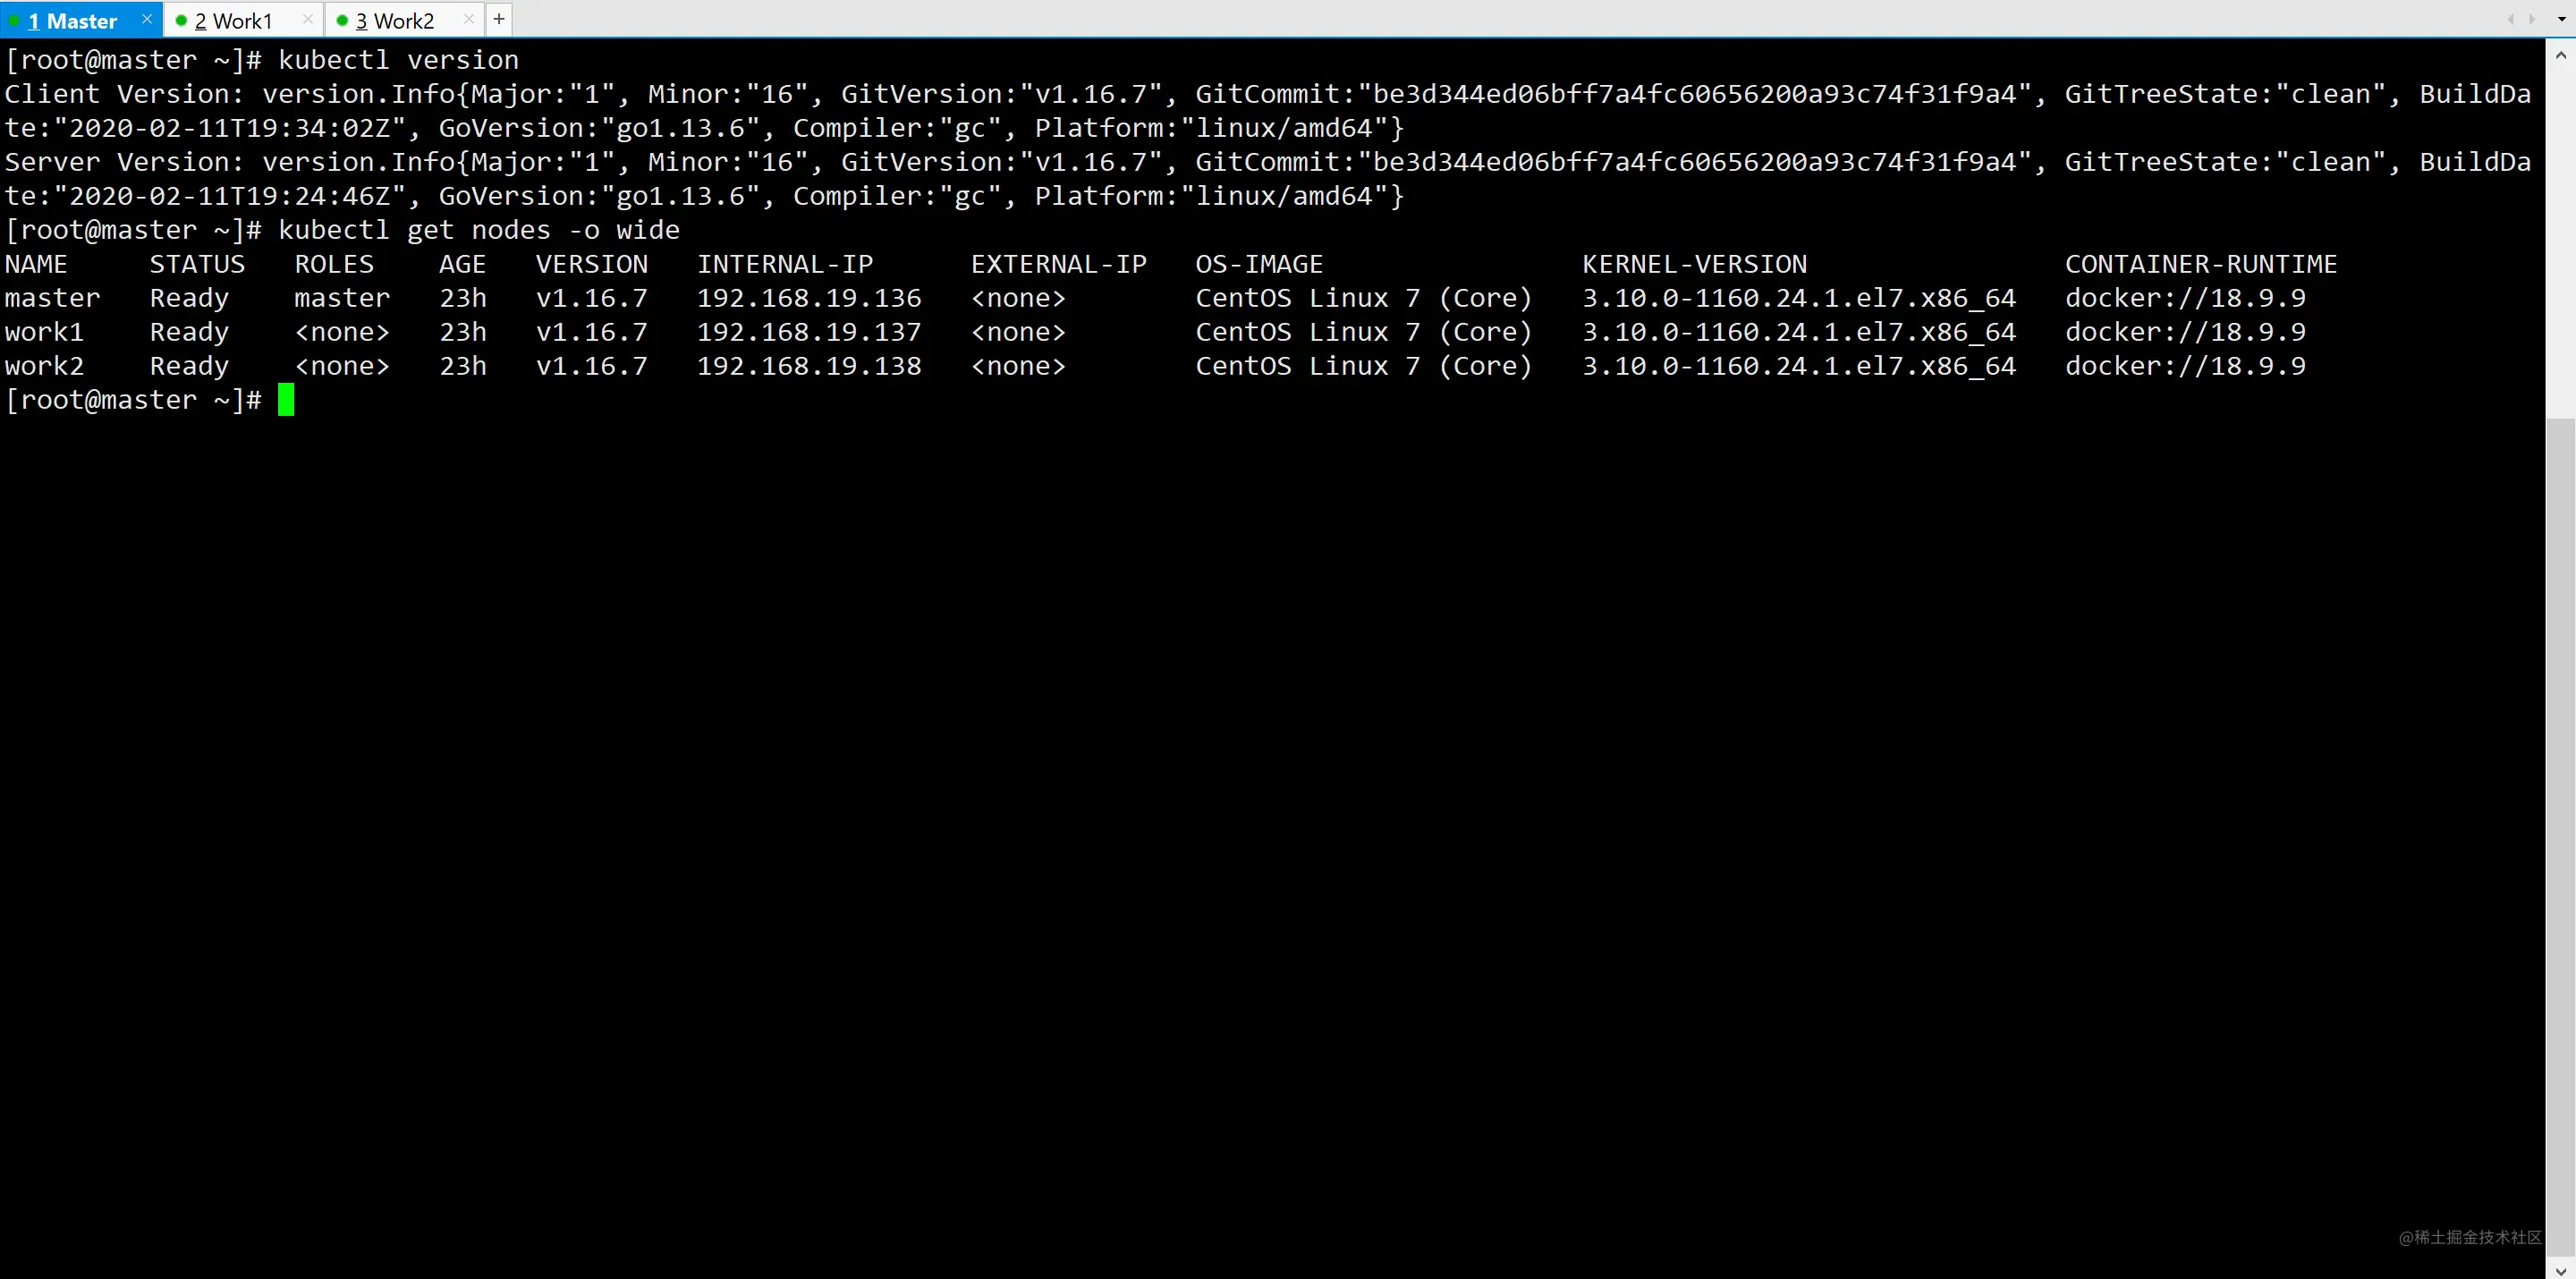
具体配置:
| 类型 | IP地址 | 系统版本 | 配置 |
|---|---|---|---|
| Master主节点 | 192.168.19.136 | CentOS Linux release 7.9.2009 (Core) | 4核4G |
| Work工作节点1 | 192.168.19.137 | CentOS Linux release 7.9.2009 (Core) | 4核4G |
| Work工作节点2 | 192.168.19.138 | CentOS Linux release 7.9.2009 (Core) | 4核4G |
选择 Helm 版本
| Helm 版本 | 支持的 Kubernetes 版本 |
|---|---|
| 3.5.x | 1.20.x - 1.17.x |
| 3.4.x | 1.19.x - 1.16.x |
| 3.3.x | 1.18.x - 1.15.x |
| 3.2.x | 1.18.x - 1.15.x |
| 3.1.x | 1.17.x - 1.14.x |
| 3.0.x | 1.16.x - 1.13.x |
| 2.16.x | 1.16.x - 1.15.x |
| 2.15.x | 1.15.x - 1.14.x |
| 2.14.x | 1.14.x - 1.13.x |
| 2.13.x | 1.13.x - 1.12.x |
| 2.12.x | 1.12.x - 1.11.x |
| 2.11.x | 1.11.x - 1.10.x |
| 2.10.x | 1.10.x - 1.9.x |
| 2.9.x | 1.10.x - 1.9.x |
| 2.8.x | 1.9.x - 1.8.x |
| 2.7.x | 1.8.x - 1.7.x |
| 2.6.x | 1.7.x - 1.6.x |
| 2.5.x | 1.6.x - 1.5.x |
| 2.4.x | 1.6.x - 1.5.x |
| 2.3.x | 1.5.x - 1.4.x |
| 2.2.x | 1.5.x - 1.4.x |
| 2.1.x | 1.5.x - 1.4.x |
| 2.0.x | 1.4.x - 1.3.x |
注: Helm 2 采用 client/server 架构,分为 Helm 客户端和 Tiller 服务端,而 Helm3 移除了 Tiller。 也就是说 Helm3 只要安装 Helm 就可以了。 关于 Helm 2 和 Helm 3 的区别可以阅读:Helm文档
本文会选择 Helm 3.4.2 进行安装。
下载安装 Helm 3.4.2
访问 github.com/helm/helm/r… 选择对应的版本,下载
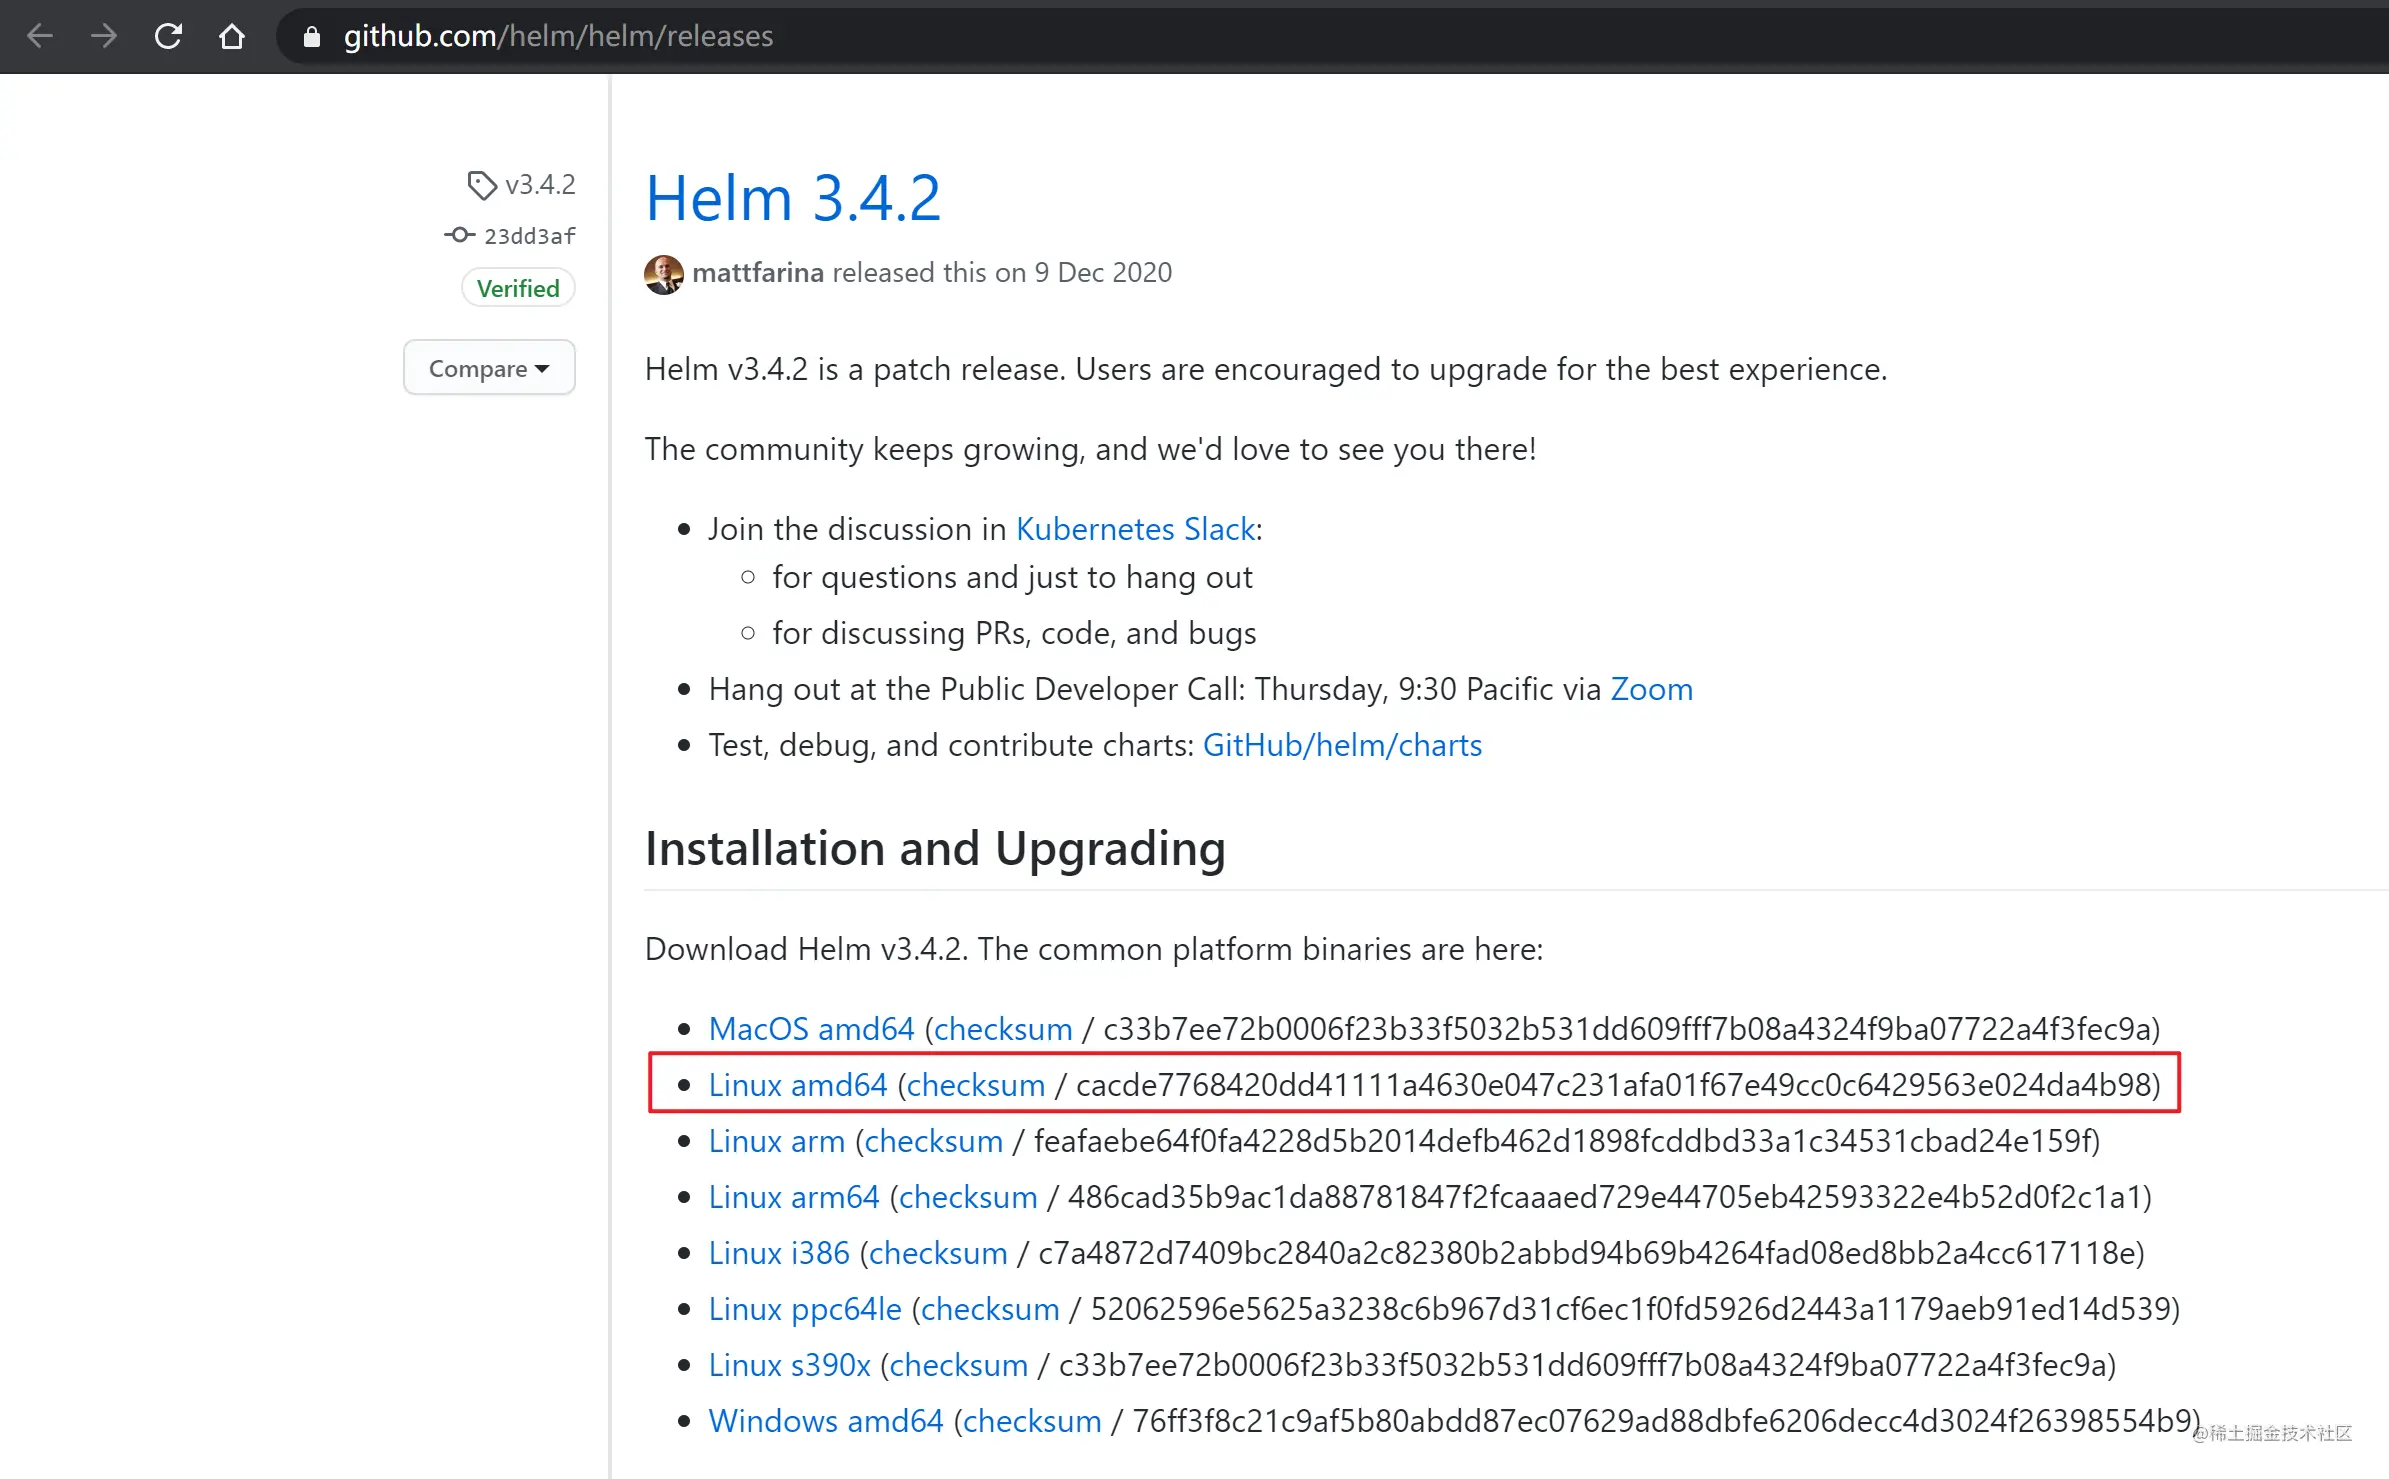
拷贝到集群中的 Master 节点

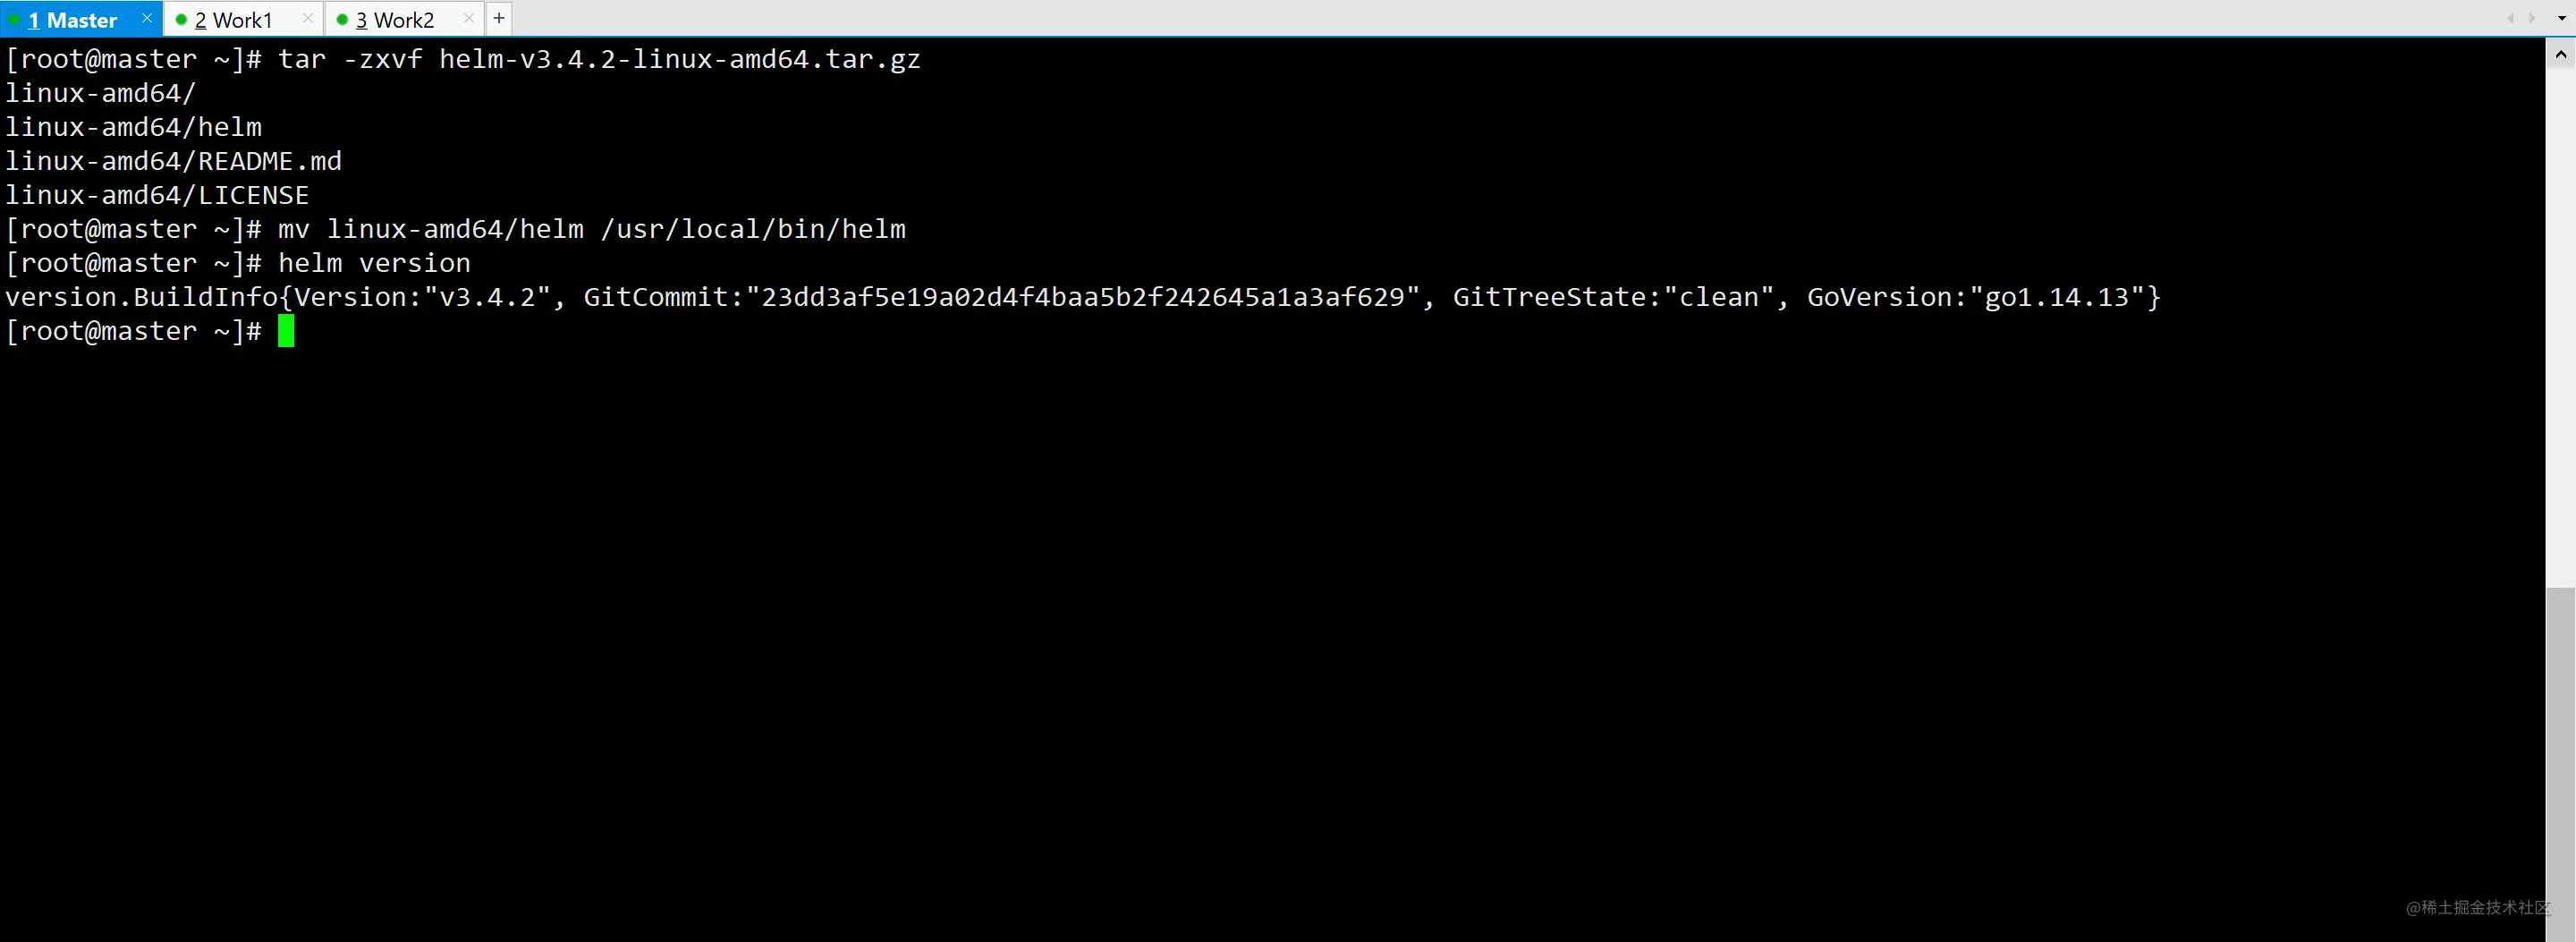
解压
tar -zxvf helm-v3.4.2-linux-amd64.tar.gz
移动到 /usr/local/bin
mv linux-amd64/helm /usr/local/bin/helm
查看是否安装成功
helm version
使用 Helm 部署 Consul 集群
Helm 基本用法
在部署consul之前,先来看看 helm 的基本用法。
查找 Charts :
helm search hub # 从 Artifact Hub 中查找并列出 helm charts。 Artifact Hub中存放了大量不同的仓库。
helm search repo # 从你添加(使用 helm repo add)到本地 helm 客户端中的仓库中进行查找。
添加 HashiCorp Helm 仓库:
helm repo add hashicorp https://helm.releases.hashicorp.com
# 查看已添加的仓库列表
helm repo list
搜索 consul :
helm search repo consul

Consul 所需环境准备
命名空间
创建一个命名空间,后续都会在此命名空间上进行操作:
kubectl create namespace consul

存储
由于 consul 部署的时候会创建使用 PVC:PersistentVolumeClaim 的 Pod ,Pod 中的应用通过 PVC 进行数据的持久化,而 PVC 使用 PV: PersistentVolume 进行数据的最终持久化处理。所以我们要准备好存储资源供应,否则 consul-server 会因为获取不到存储资源而一直处于 pending 状态,有以下两种方案:
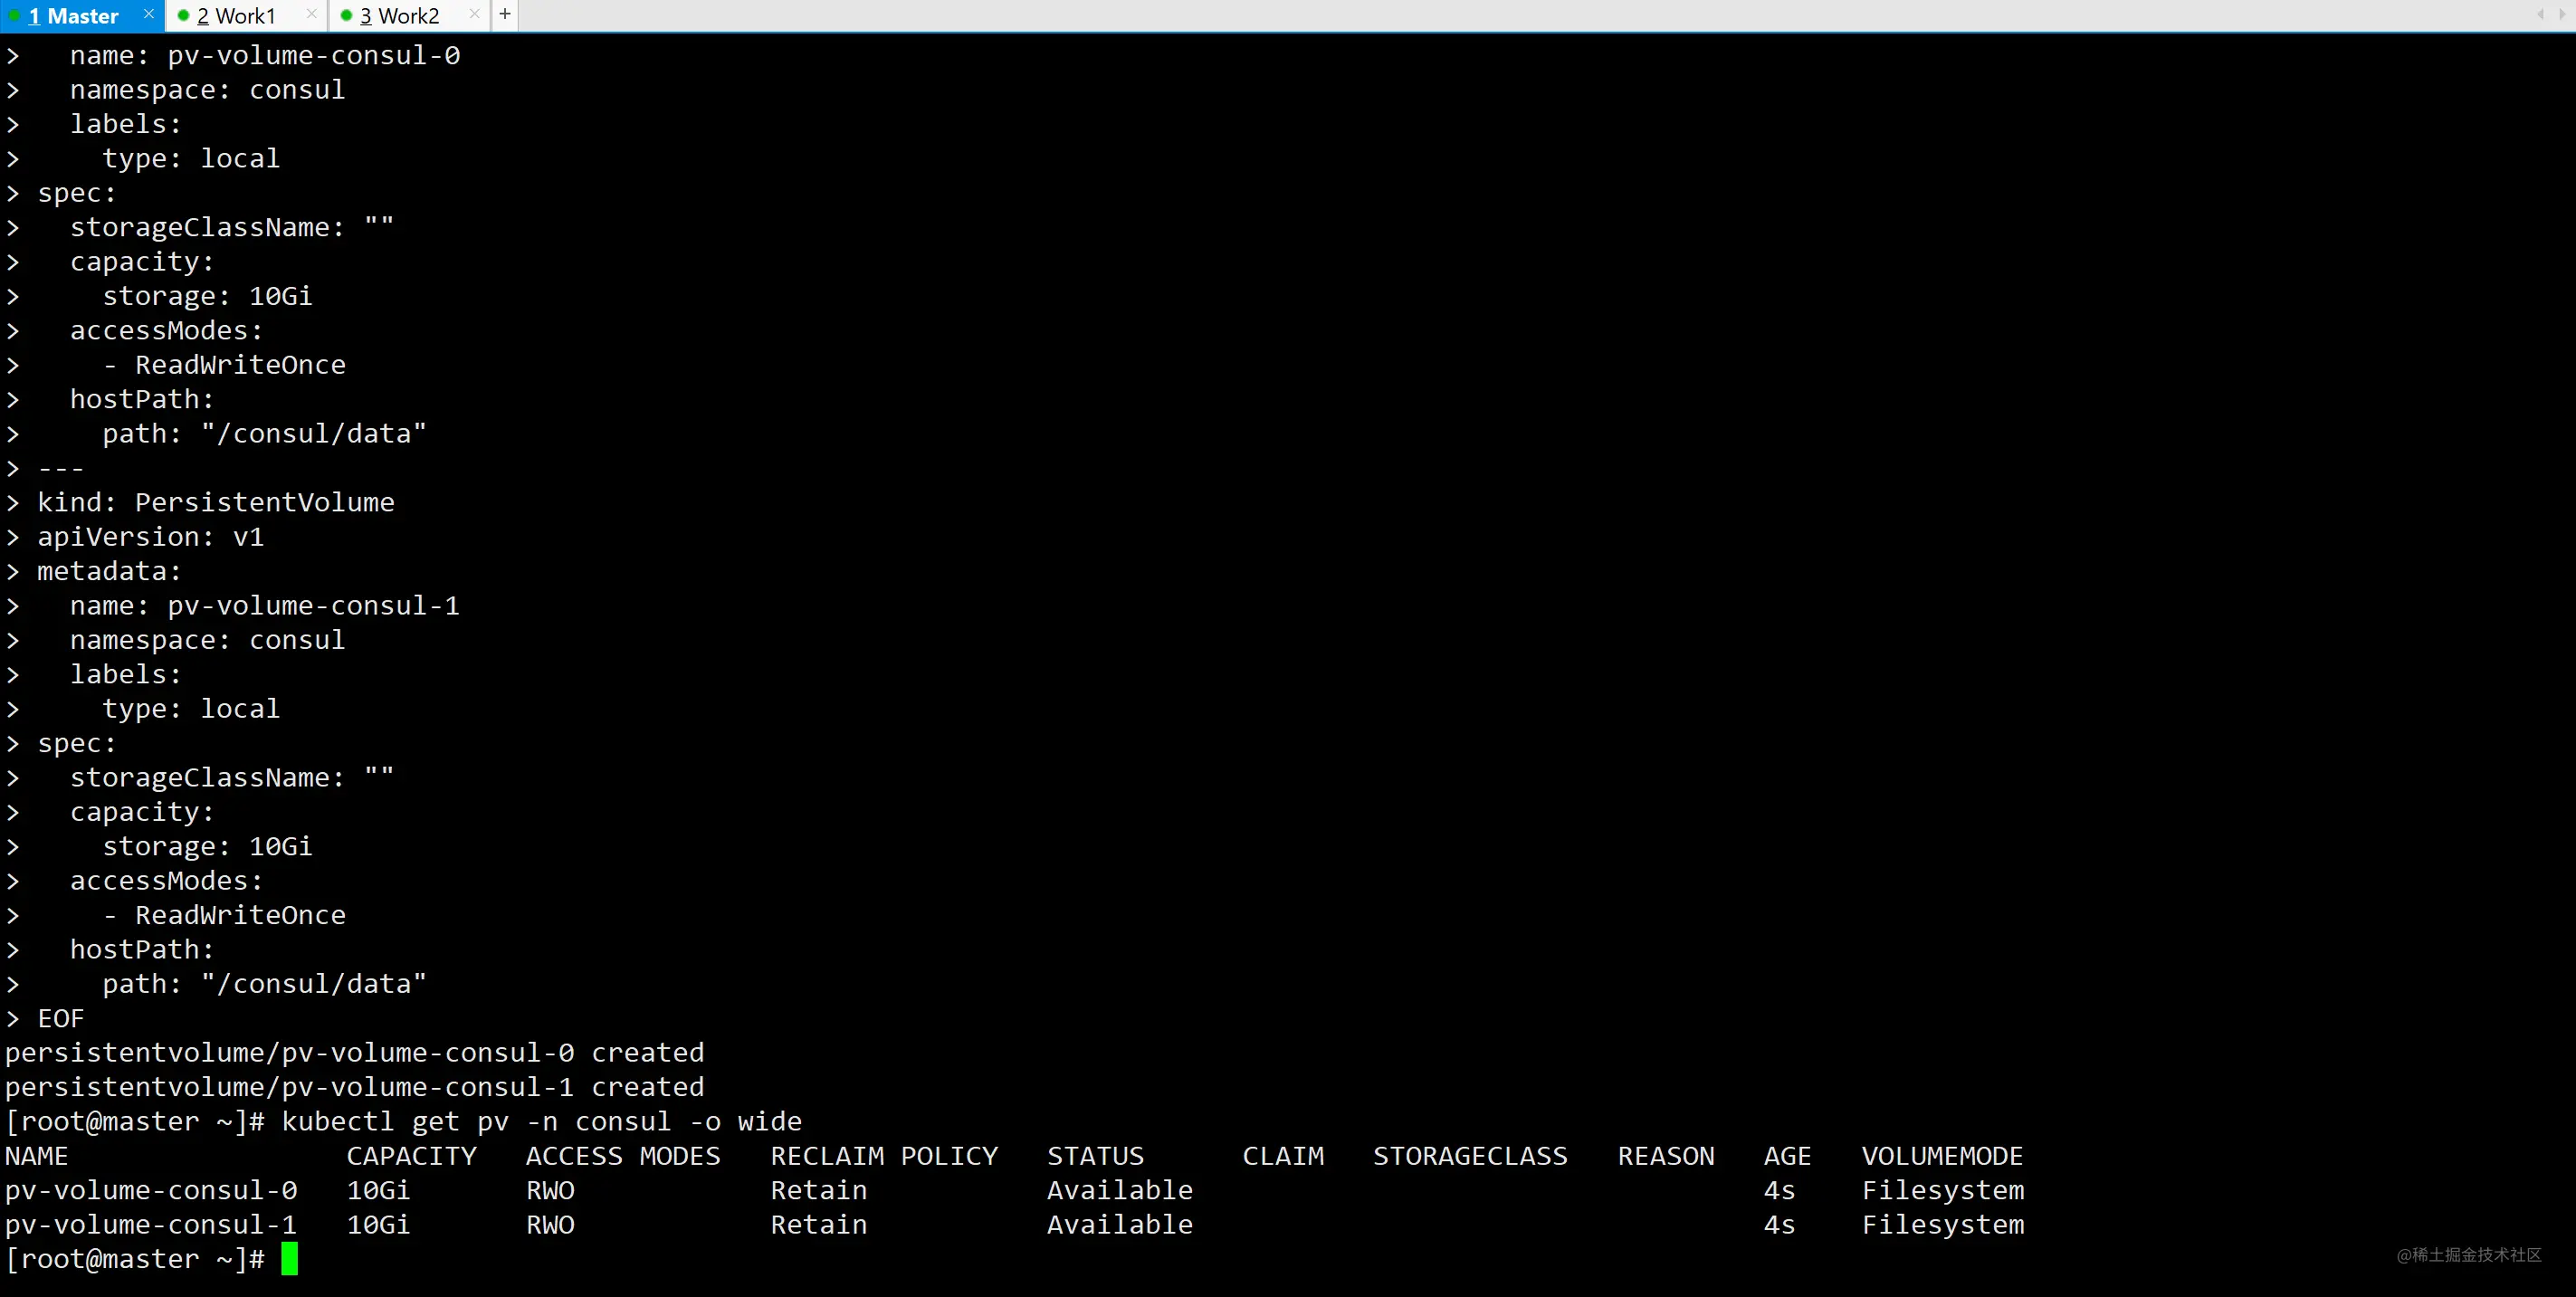
方案1,手动创建静态 PV 进行存储供应
cat <<EOF | kubectl apply -f -
---
kind: PersistentVolume
apiVersion: v1
metadata:
  name: pv-volume-consul-0
  namespace: consul
  labels:
    type: local
spec:
  storageClassName: ""
  capacity:
    storage: 10Gi
  accessModes:
    - ReadWriteOnce
  hostPath:
    path: "/consul/data"
---
kind: PersistentVolume
apiVersion: v1
metadata:
  name: pv-volume-consul-1
  namespace: consul
  labels:
    type: local
spec:
  storageClassName: ""
  capacity:
    storage: 10Gi
  accessModes:
    - ReadWriteOnce
  hostPath:
    path: "/consul/data"
EOF
查看:
kubectl get pv -n consul -o wide
方案2,通过 StorageClass 实现动态卷供应
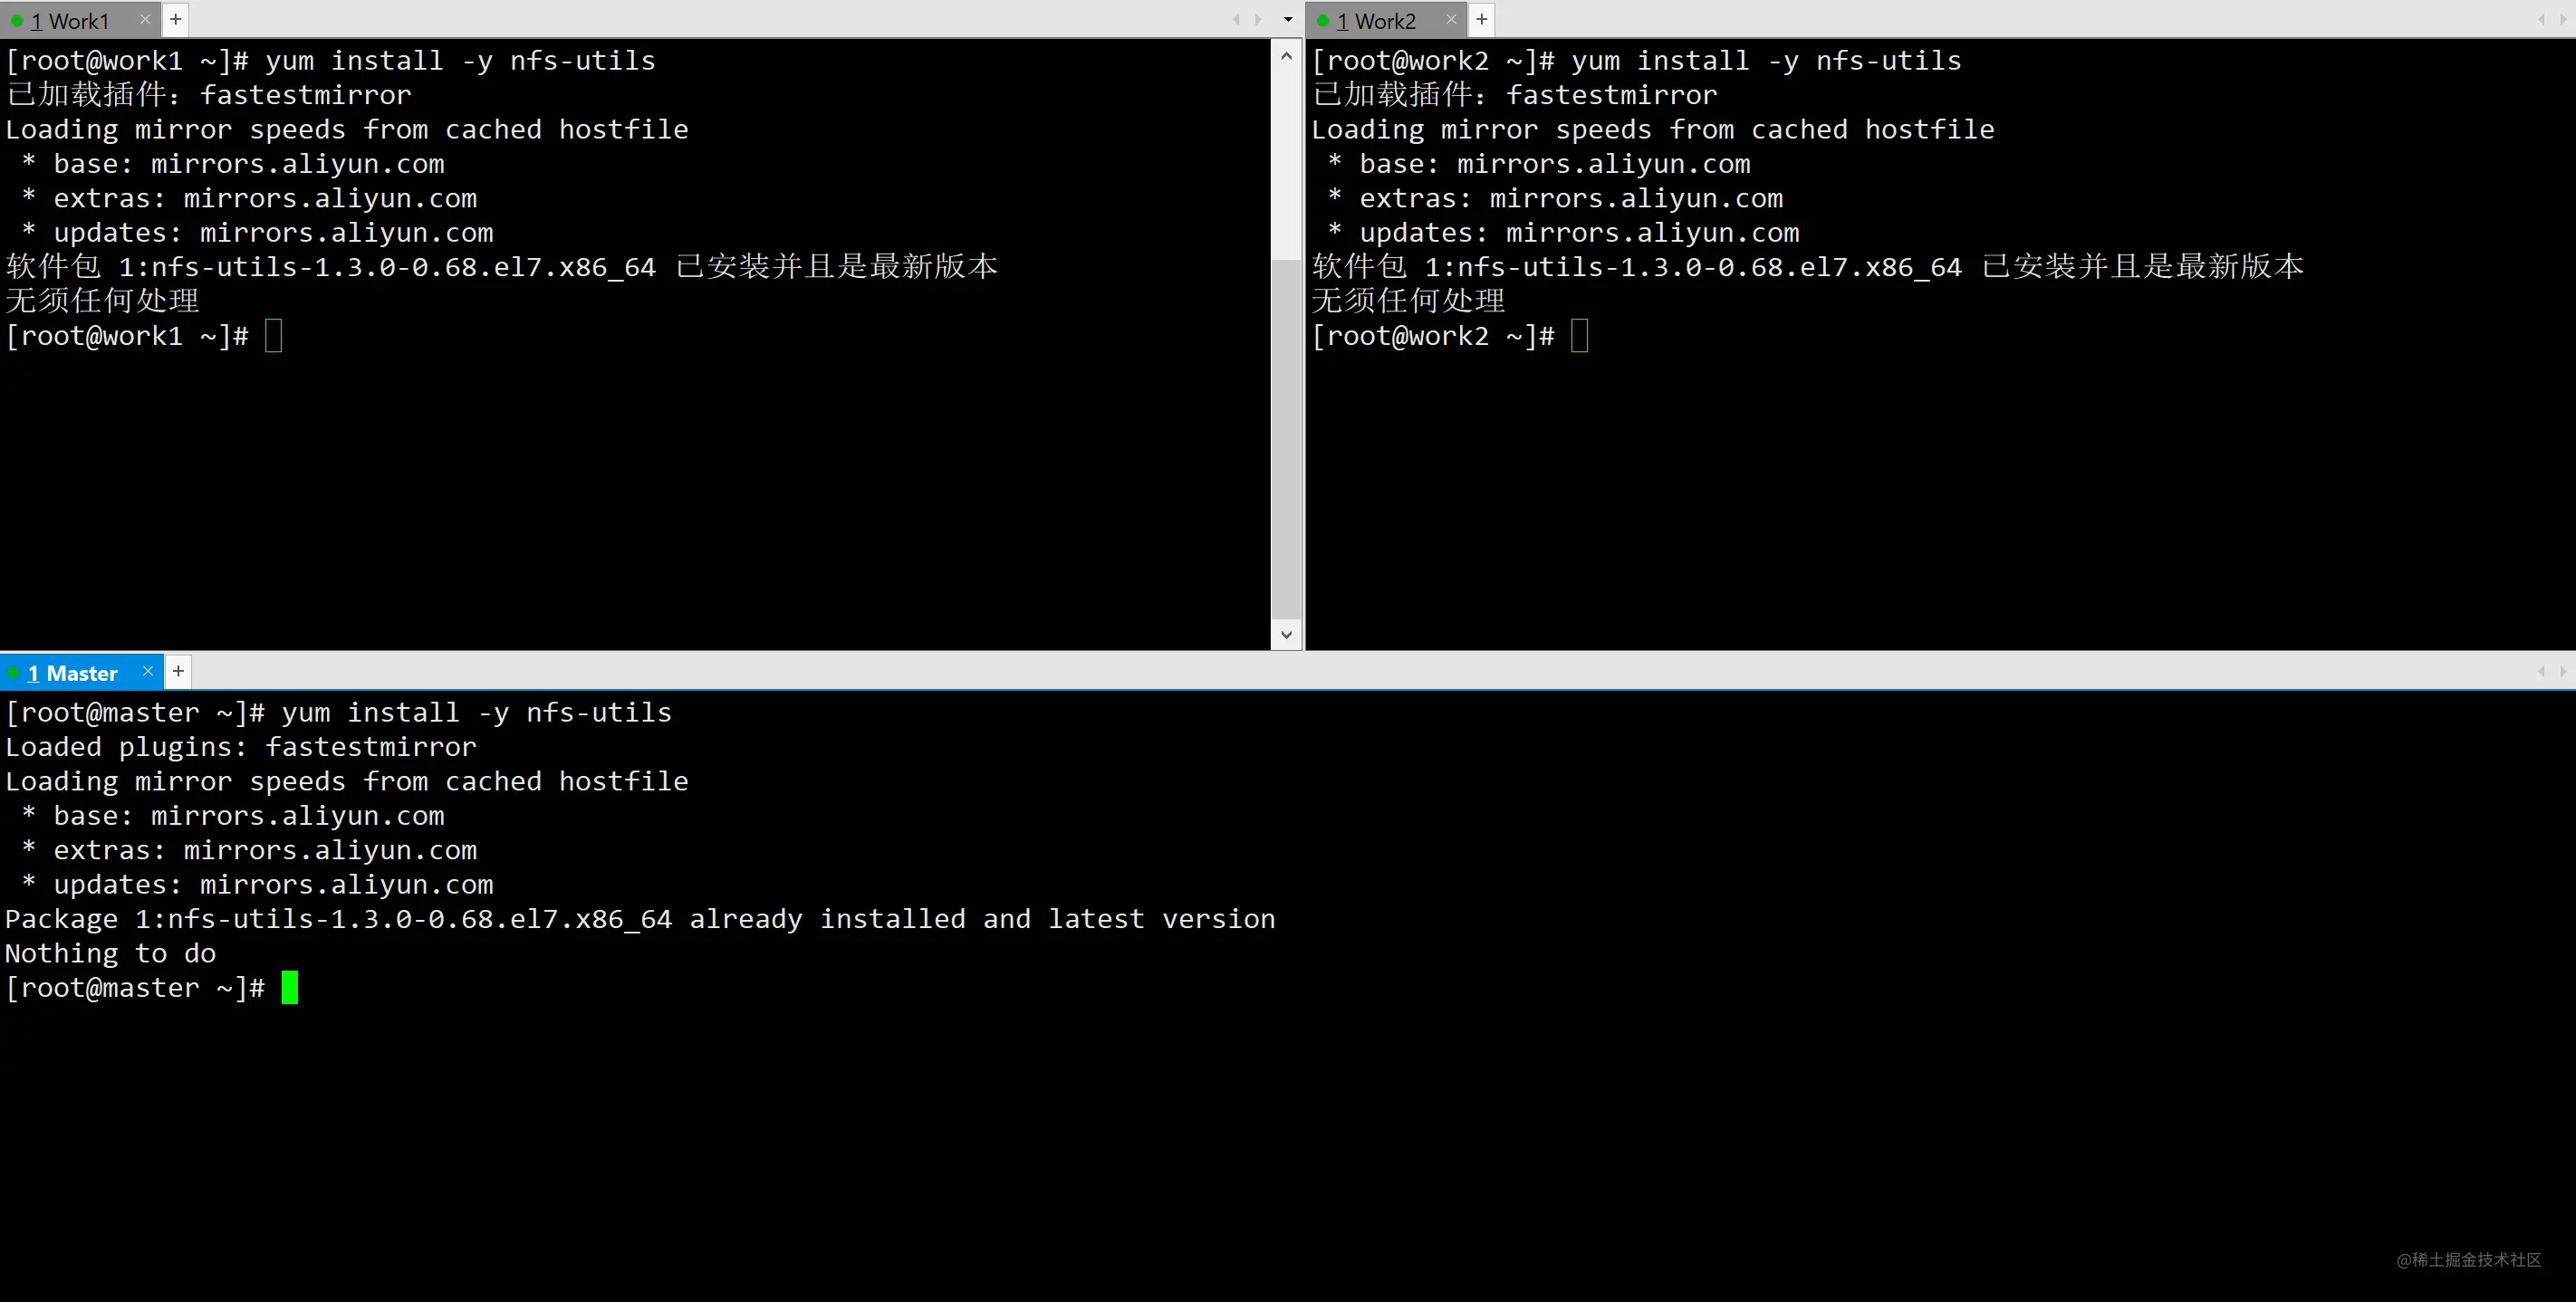
在所有节点上安装 nfs-utils:
yum install -y nfs-utils
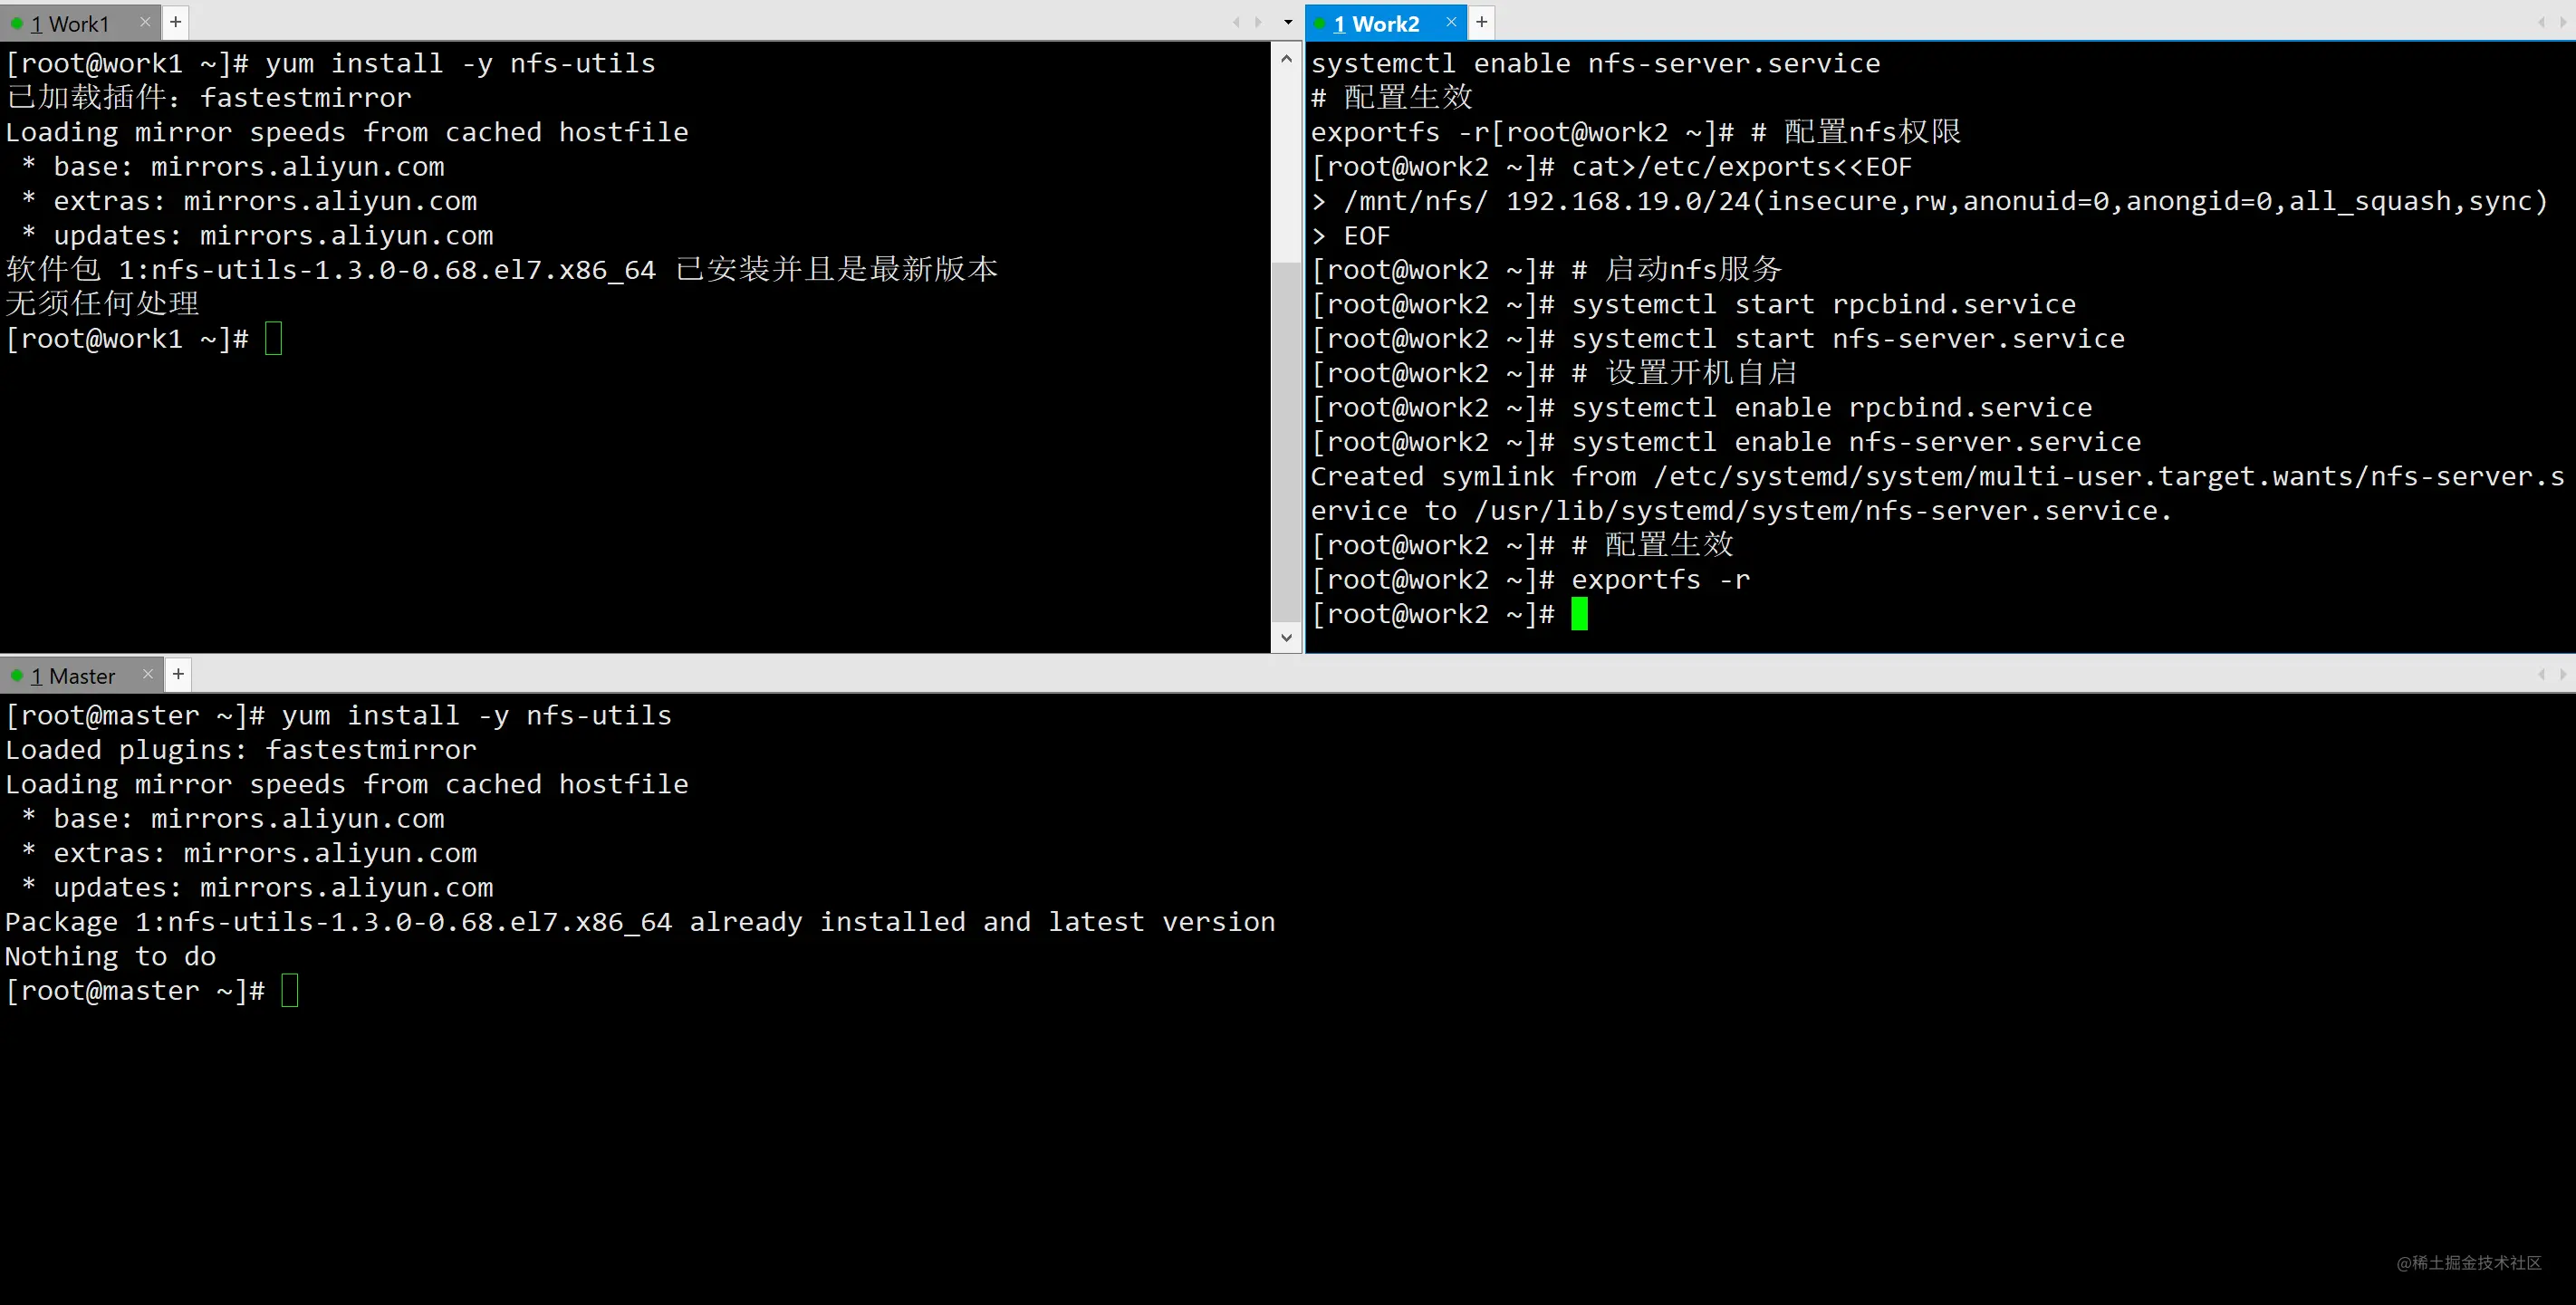
选择一台节点,这里选择 work2(192.168.19.138) 节点作为 nfs server:
# 创建nfs目录
mkdir -p /mnt/nfs
# 配置nfs权限
cat>/etc/exports<<EOF
/mnt/nfs/ 192.168.19.0/24(insecure,rw,anonuid=0,anongid=0,all_squash,sync)
EOF
# 启动nfs服务
systemctl start rpcbind.service
systemctl start nfs-server.service
# 设置开机自启
systemctl enable rpcbind.service
systemctl enable nfs-server.service
# 配置生效
exportfs -r
在 master 节点使用 helm 安装 nfs-provisioner:
# 添加仓库源
helm repo add azure http://mirror.azure.cn/kubernetes/charts/
# 搜索nfs-client-provisioner
helm search repo nfs-client-provisioner
# 安装nfs-client-provisioner
helm install nfs-storage azure/nfs-client-provisioner -n consul \
--set nfs.server=192.168.19.138 \
--set nfs.path=/mnt/nfs \
--set storageClass.name=nfs-storage \
--set storageClass.defaultClass=true
# 查看StorageClass
kubectl get sc -n consul
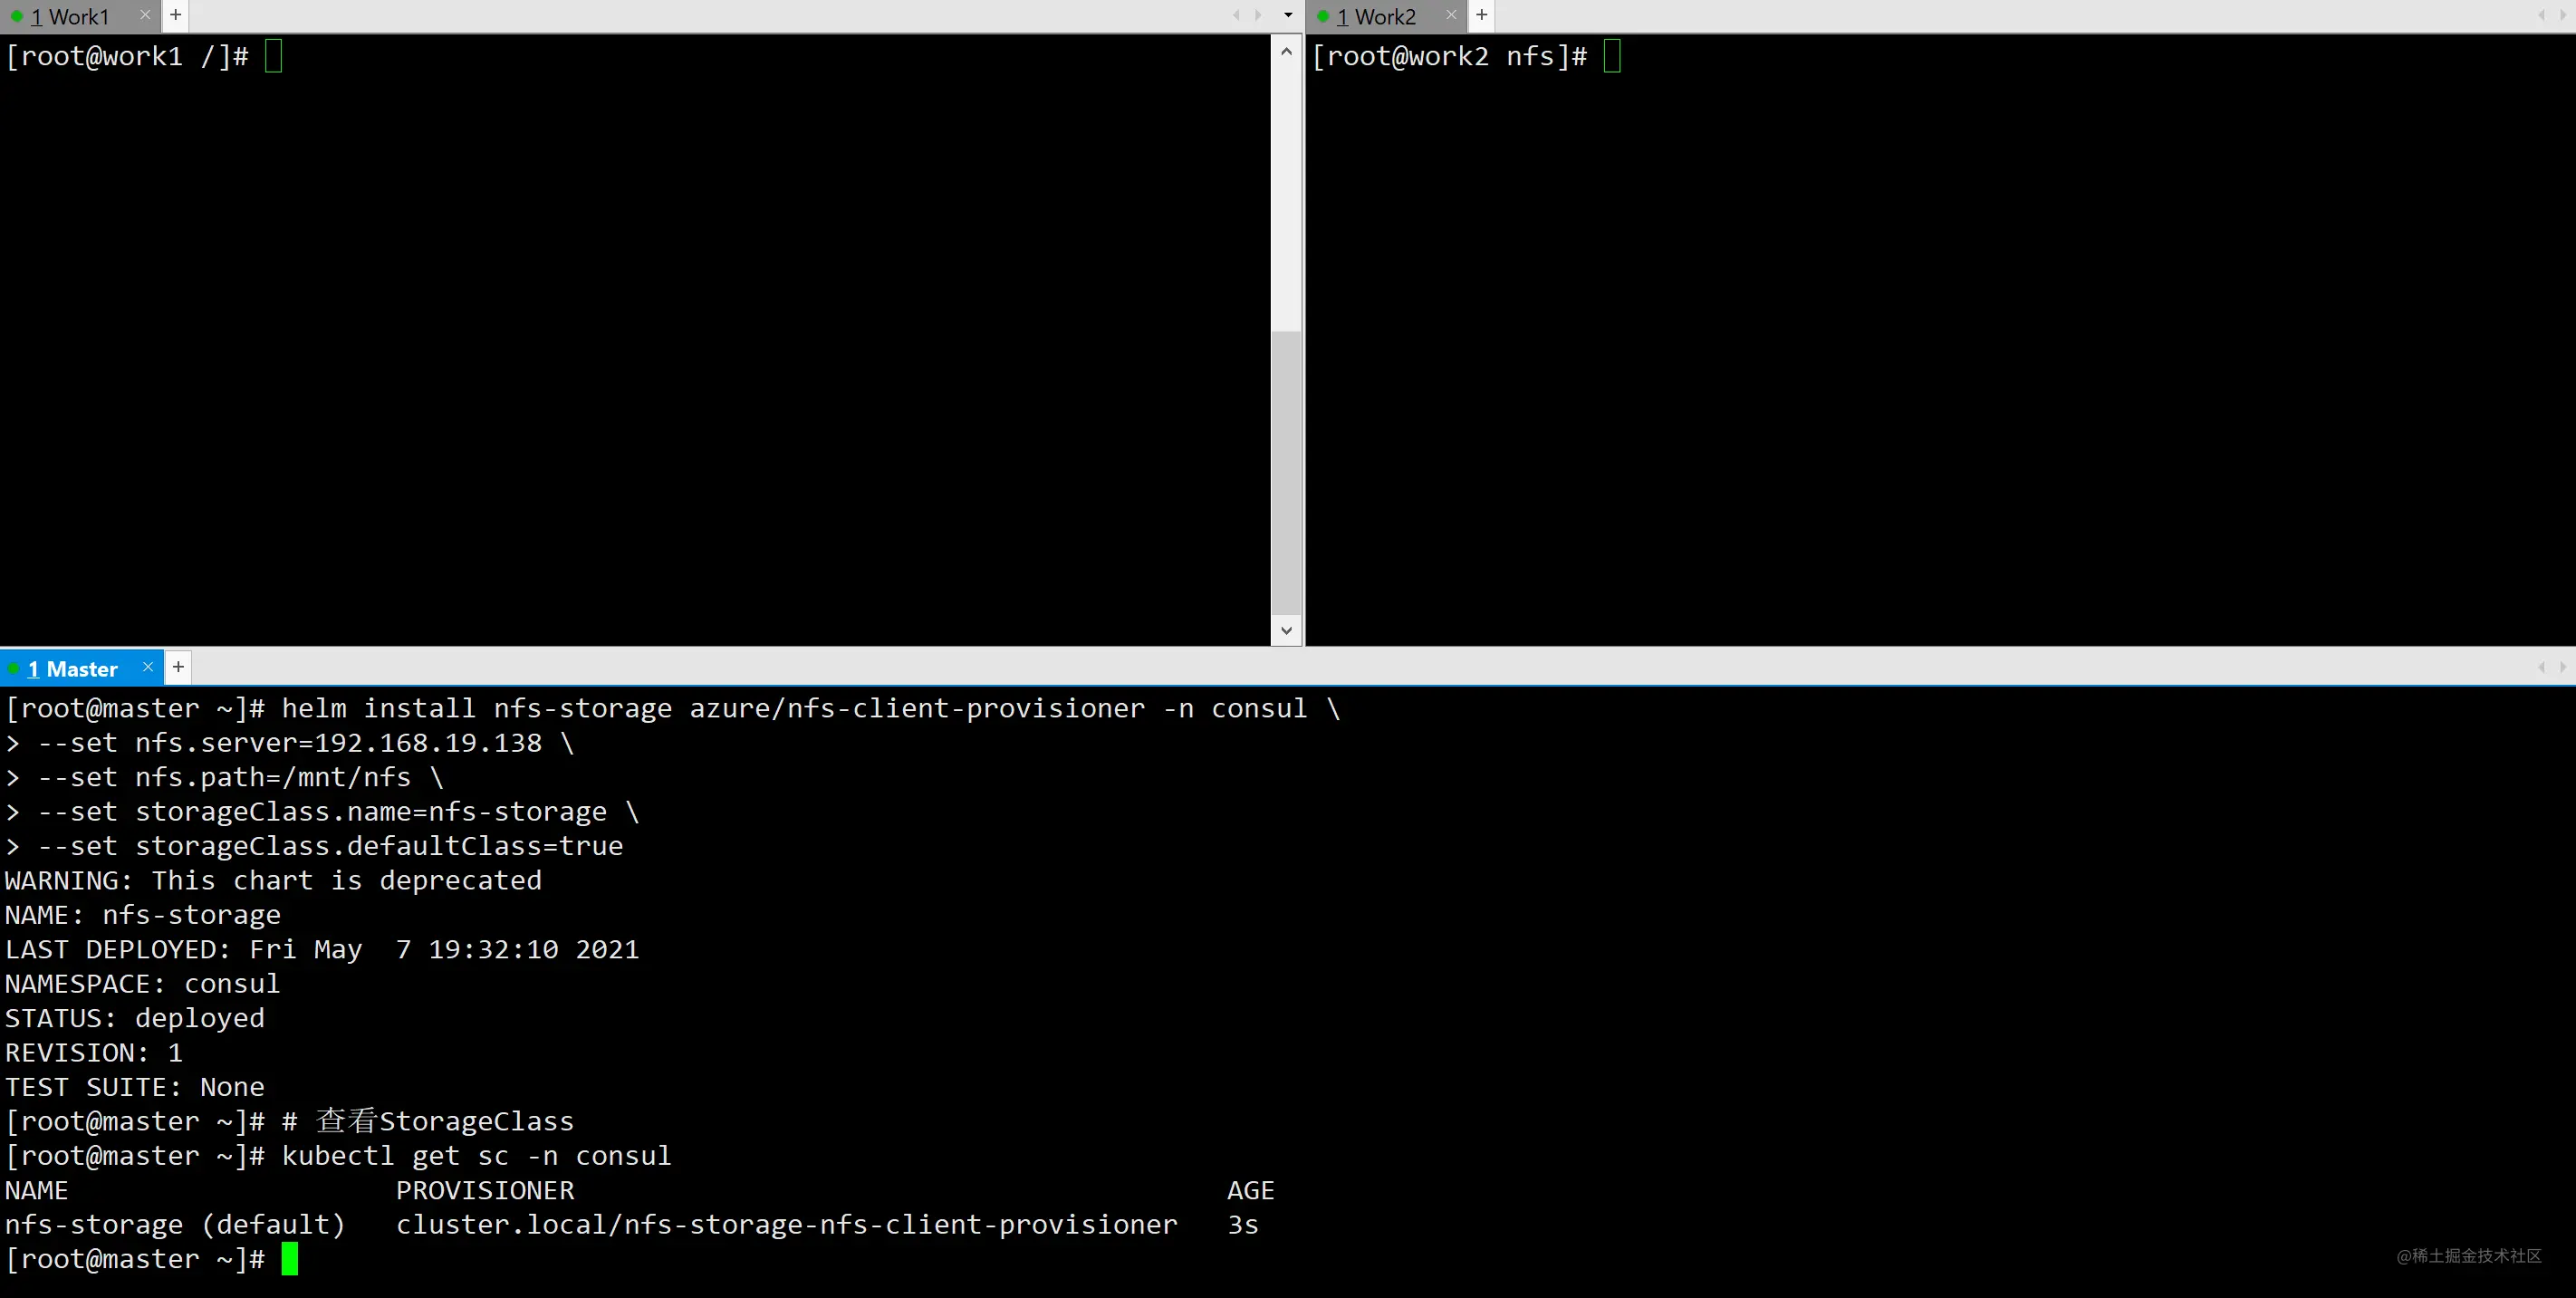
至此,当有 PVC 需要申请 PV 时,StorageClass 就会自动为我们创建 PV 了。
配置文件
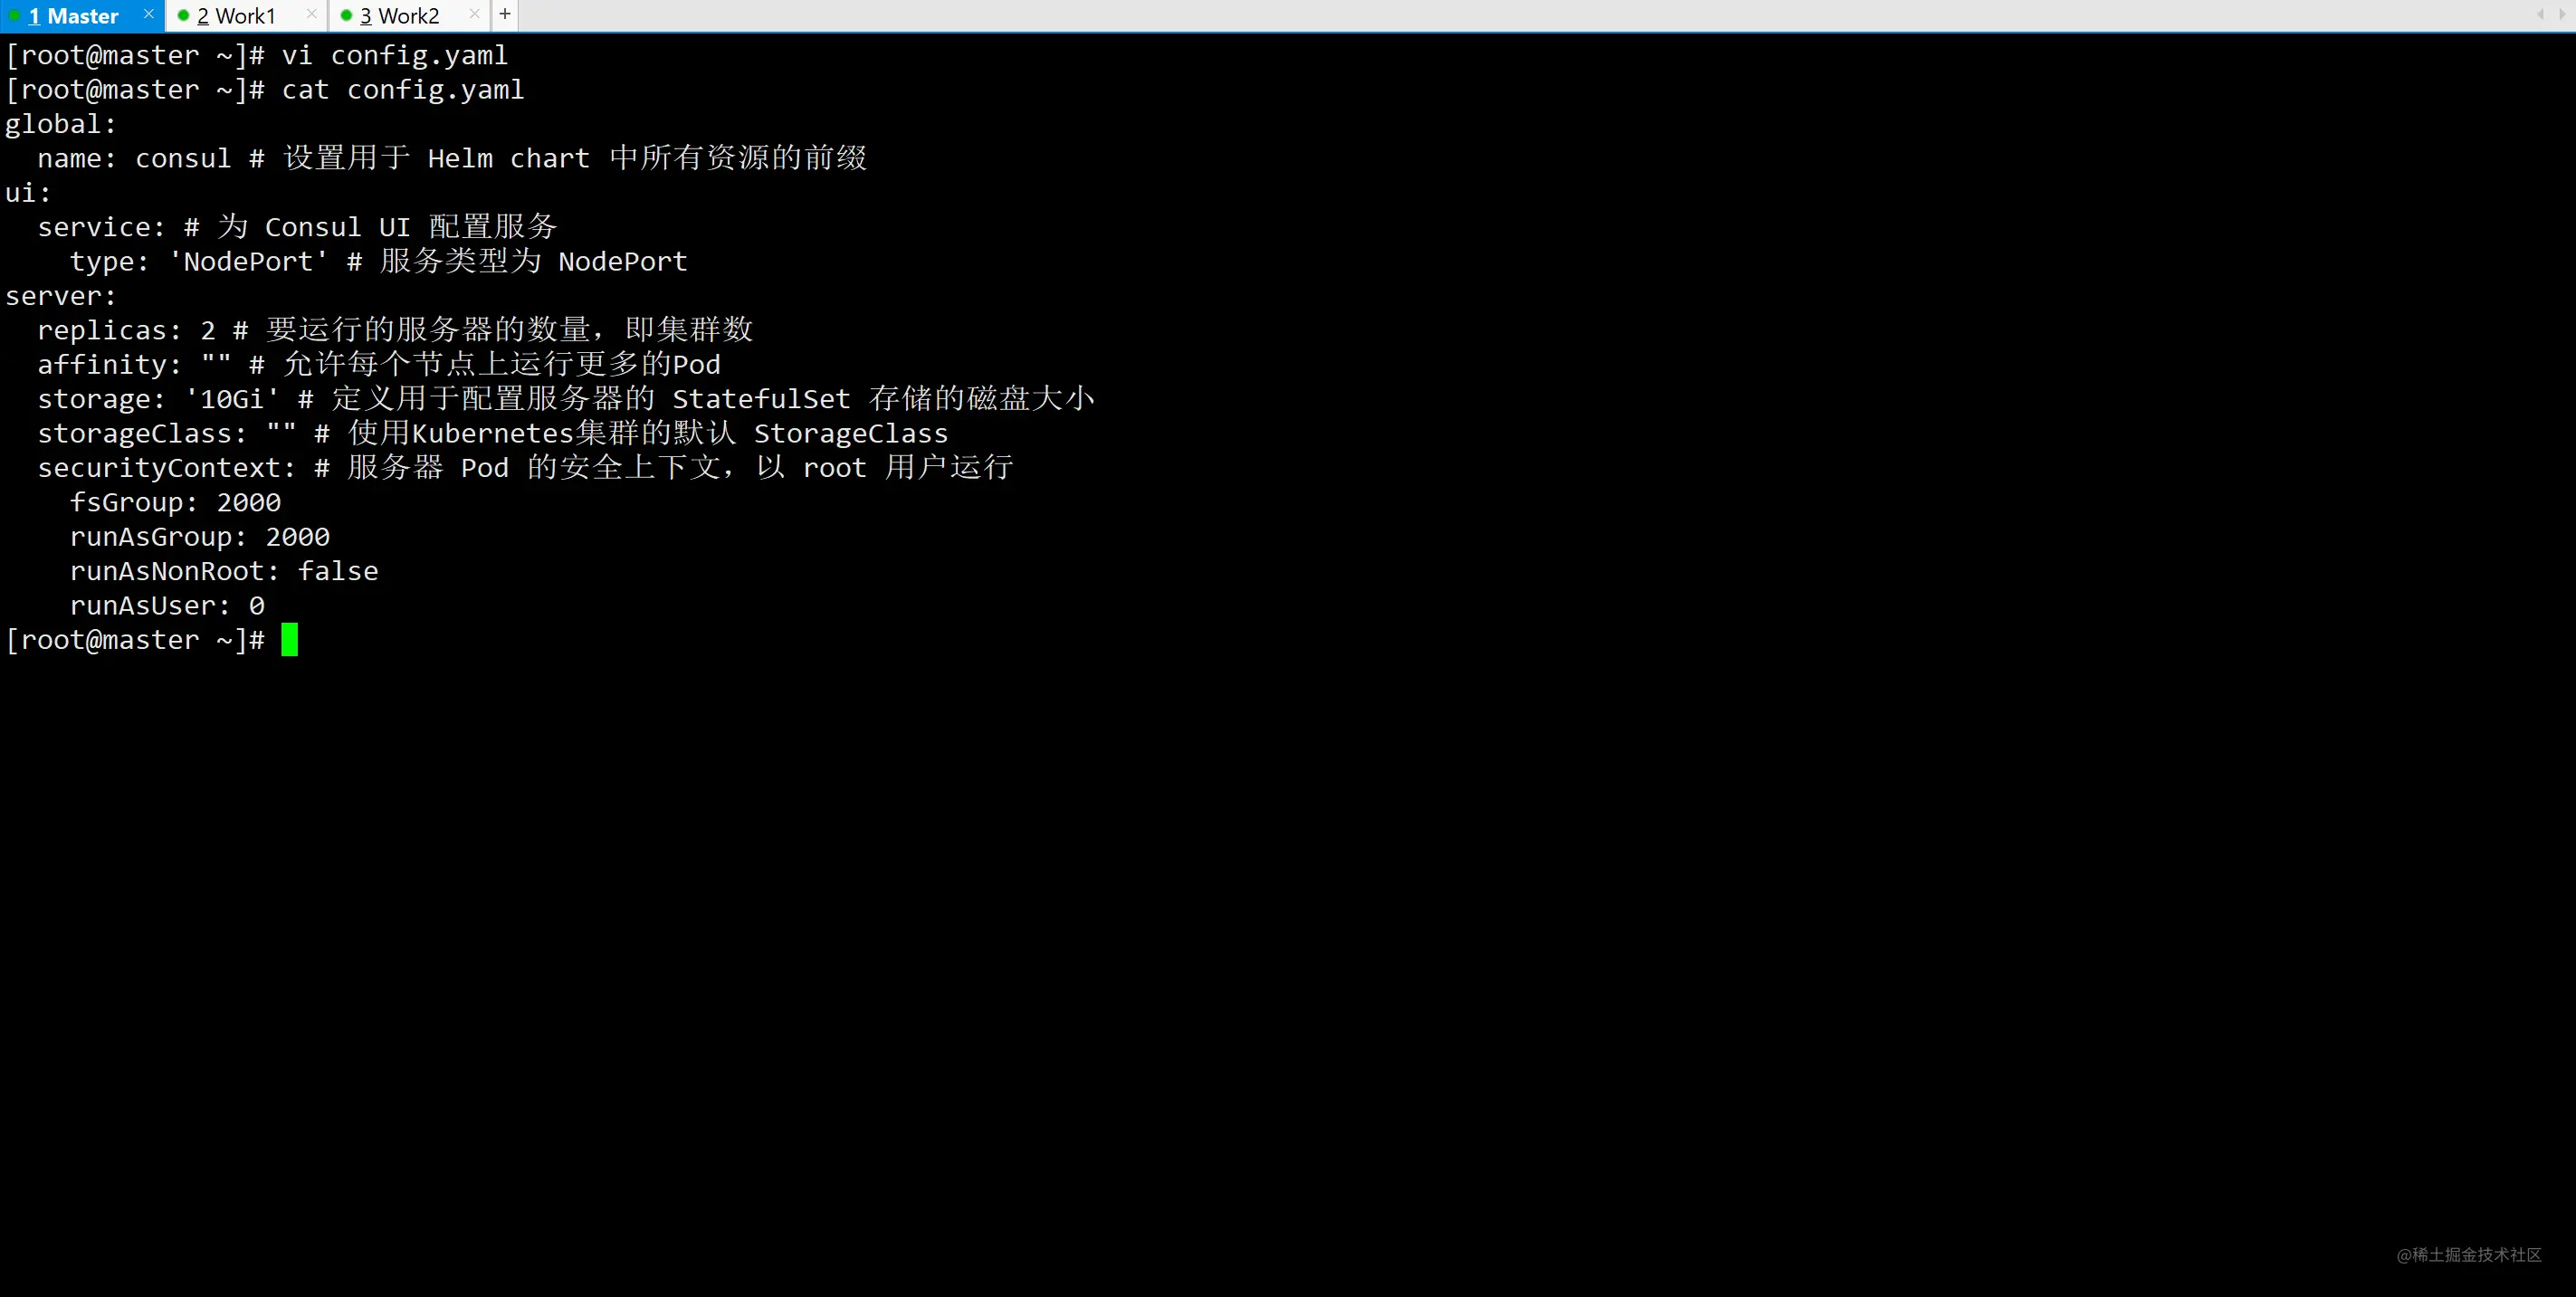
创建 config.yaml :
global:
  name: consul # 设置用于 Helm chart 中所有资源的前缀
ui:
  service: # 为 Consul UI 配置服务
    type: 'NodePort' # 服务类型为 NodePort
server:
  replicas: 2 # 要运行的服务器的数量,即集群数
  affinity: "" # 允许每个节点上运行更多的Pod
  storage: '10Gi' # 定义用于配置服务器的 StatefulSet 存储的磁盘大小
  storageClass: "" # 使用Kubernetes集群的默认 StorageClass
  securityContext: # 服务器 Pod 的安全上下文,以 root 用户运行
    fsGroup: 2000
    runAsGroup: 2000
    runAsNonRoot: false
    runAsUser: 0
更多配置可以参考:www.consul.io/docs/k8s/he…
开始安装
helm install hi-consul hashicorp/consul -n consul -f config.yaml
hi-consul:你命名的 release 名字
hashicorp/consul:你想安装的 chart 的名称
-n:指定命名空间
-f:传递配置文件
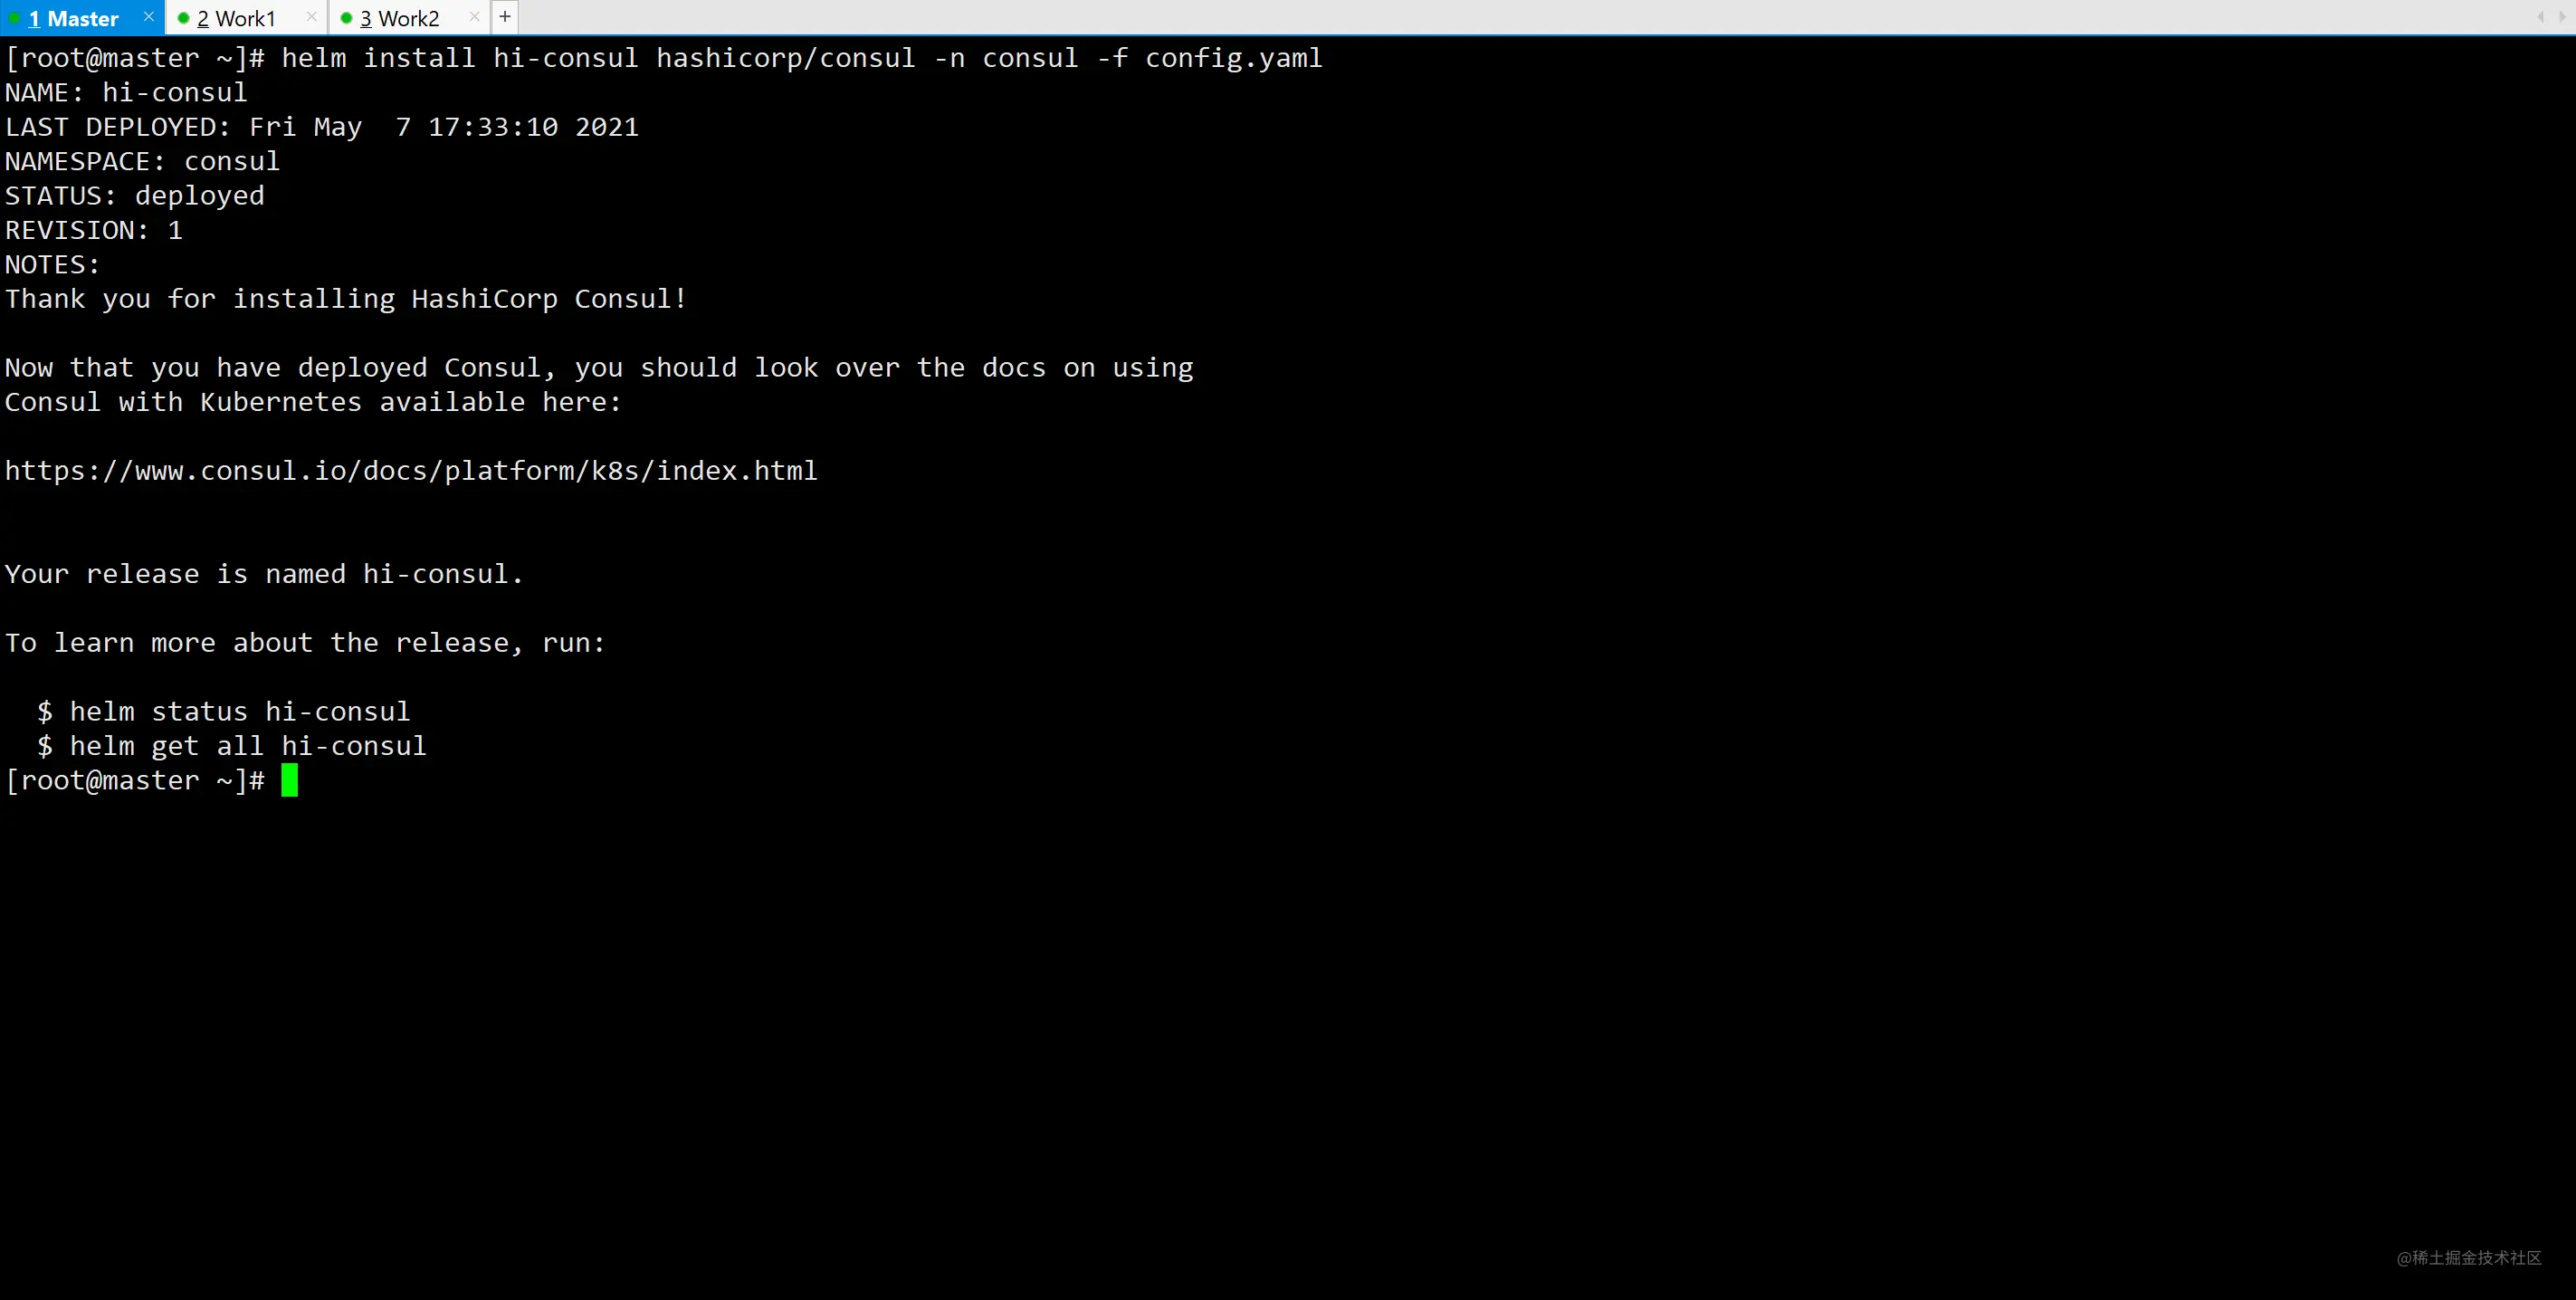
执行安装命令后我们可以监控 pod 的状态:
kubectl get pods -n consul -o wide -w
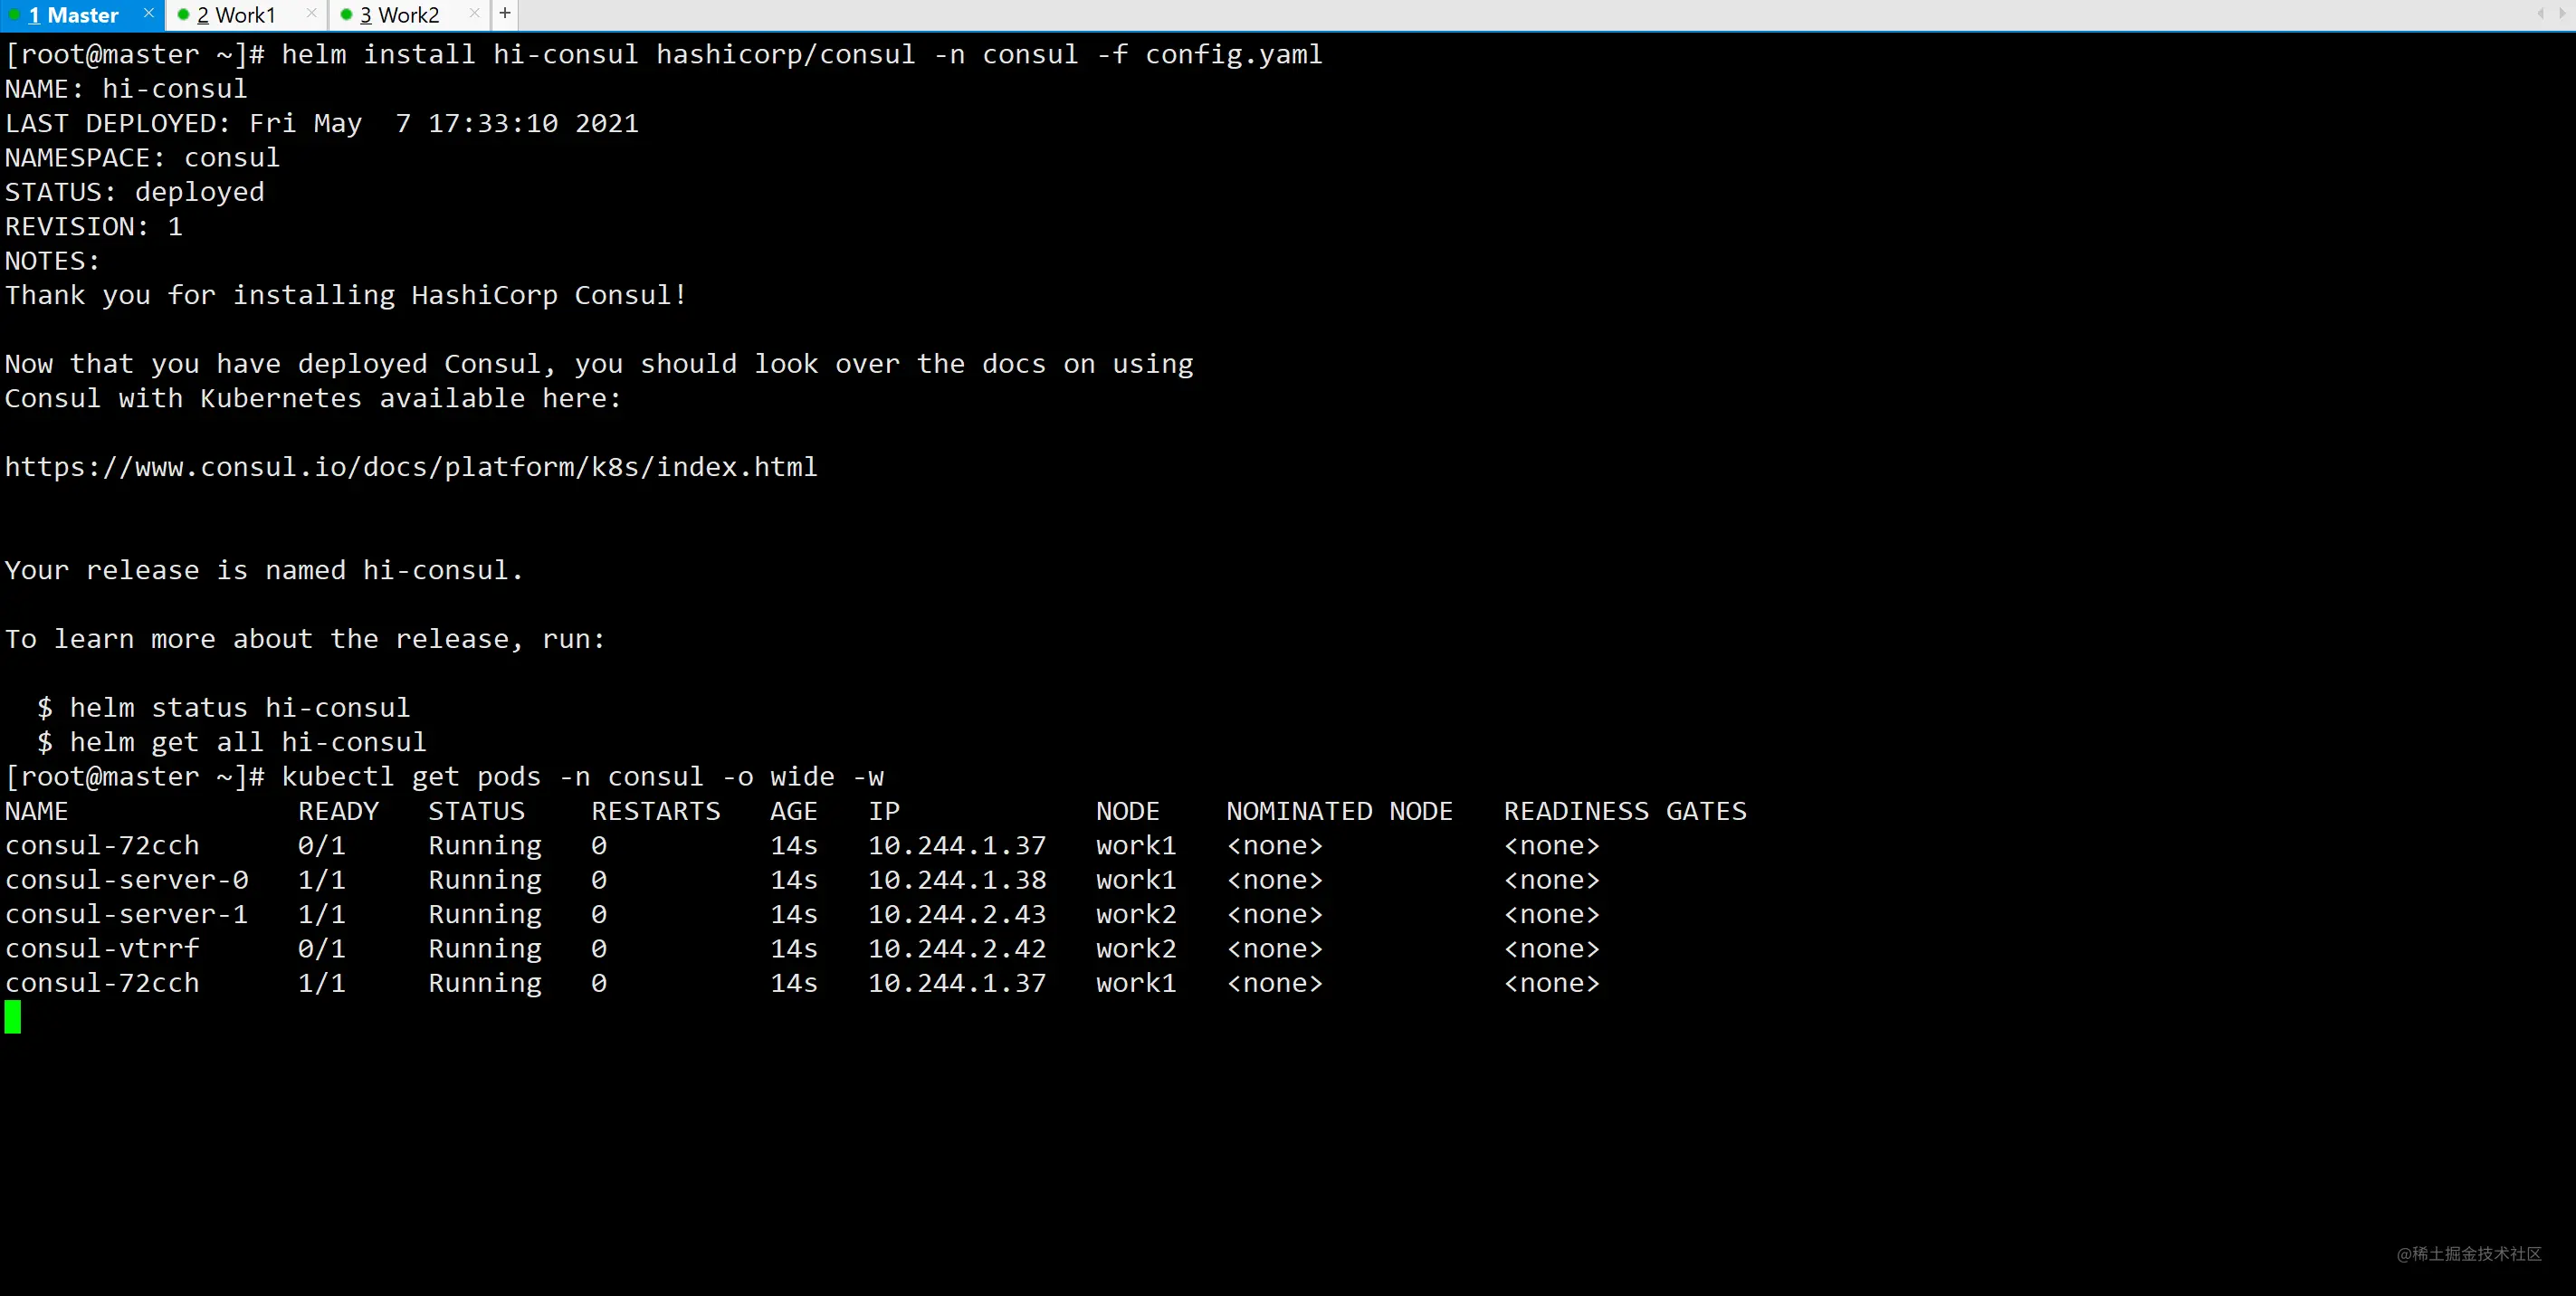
等待所有 Pod READY 完毕后,查看 svc 状态:
kubectl get svc -n consul -o wide

浏览器访问 http://master:30497/ui/ (已设置hosts)或 http://192.168.19.136:30497/ui/
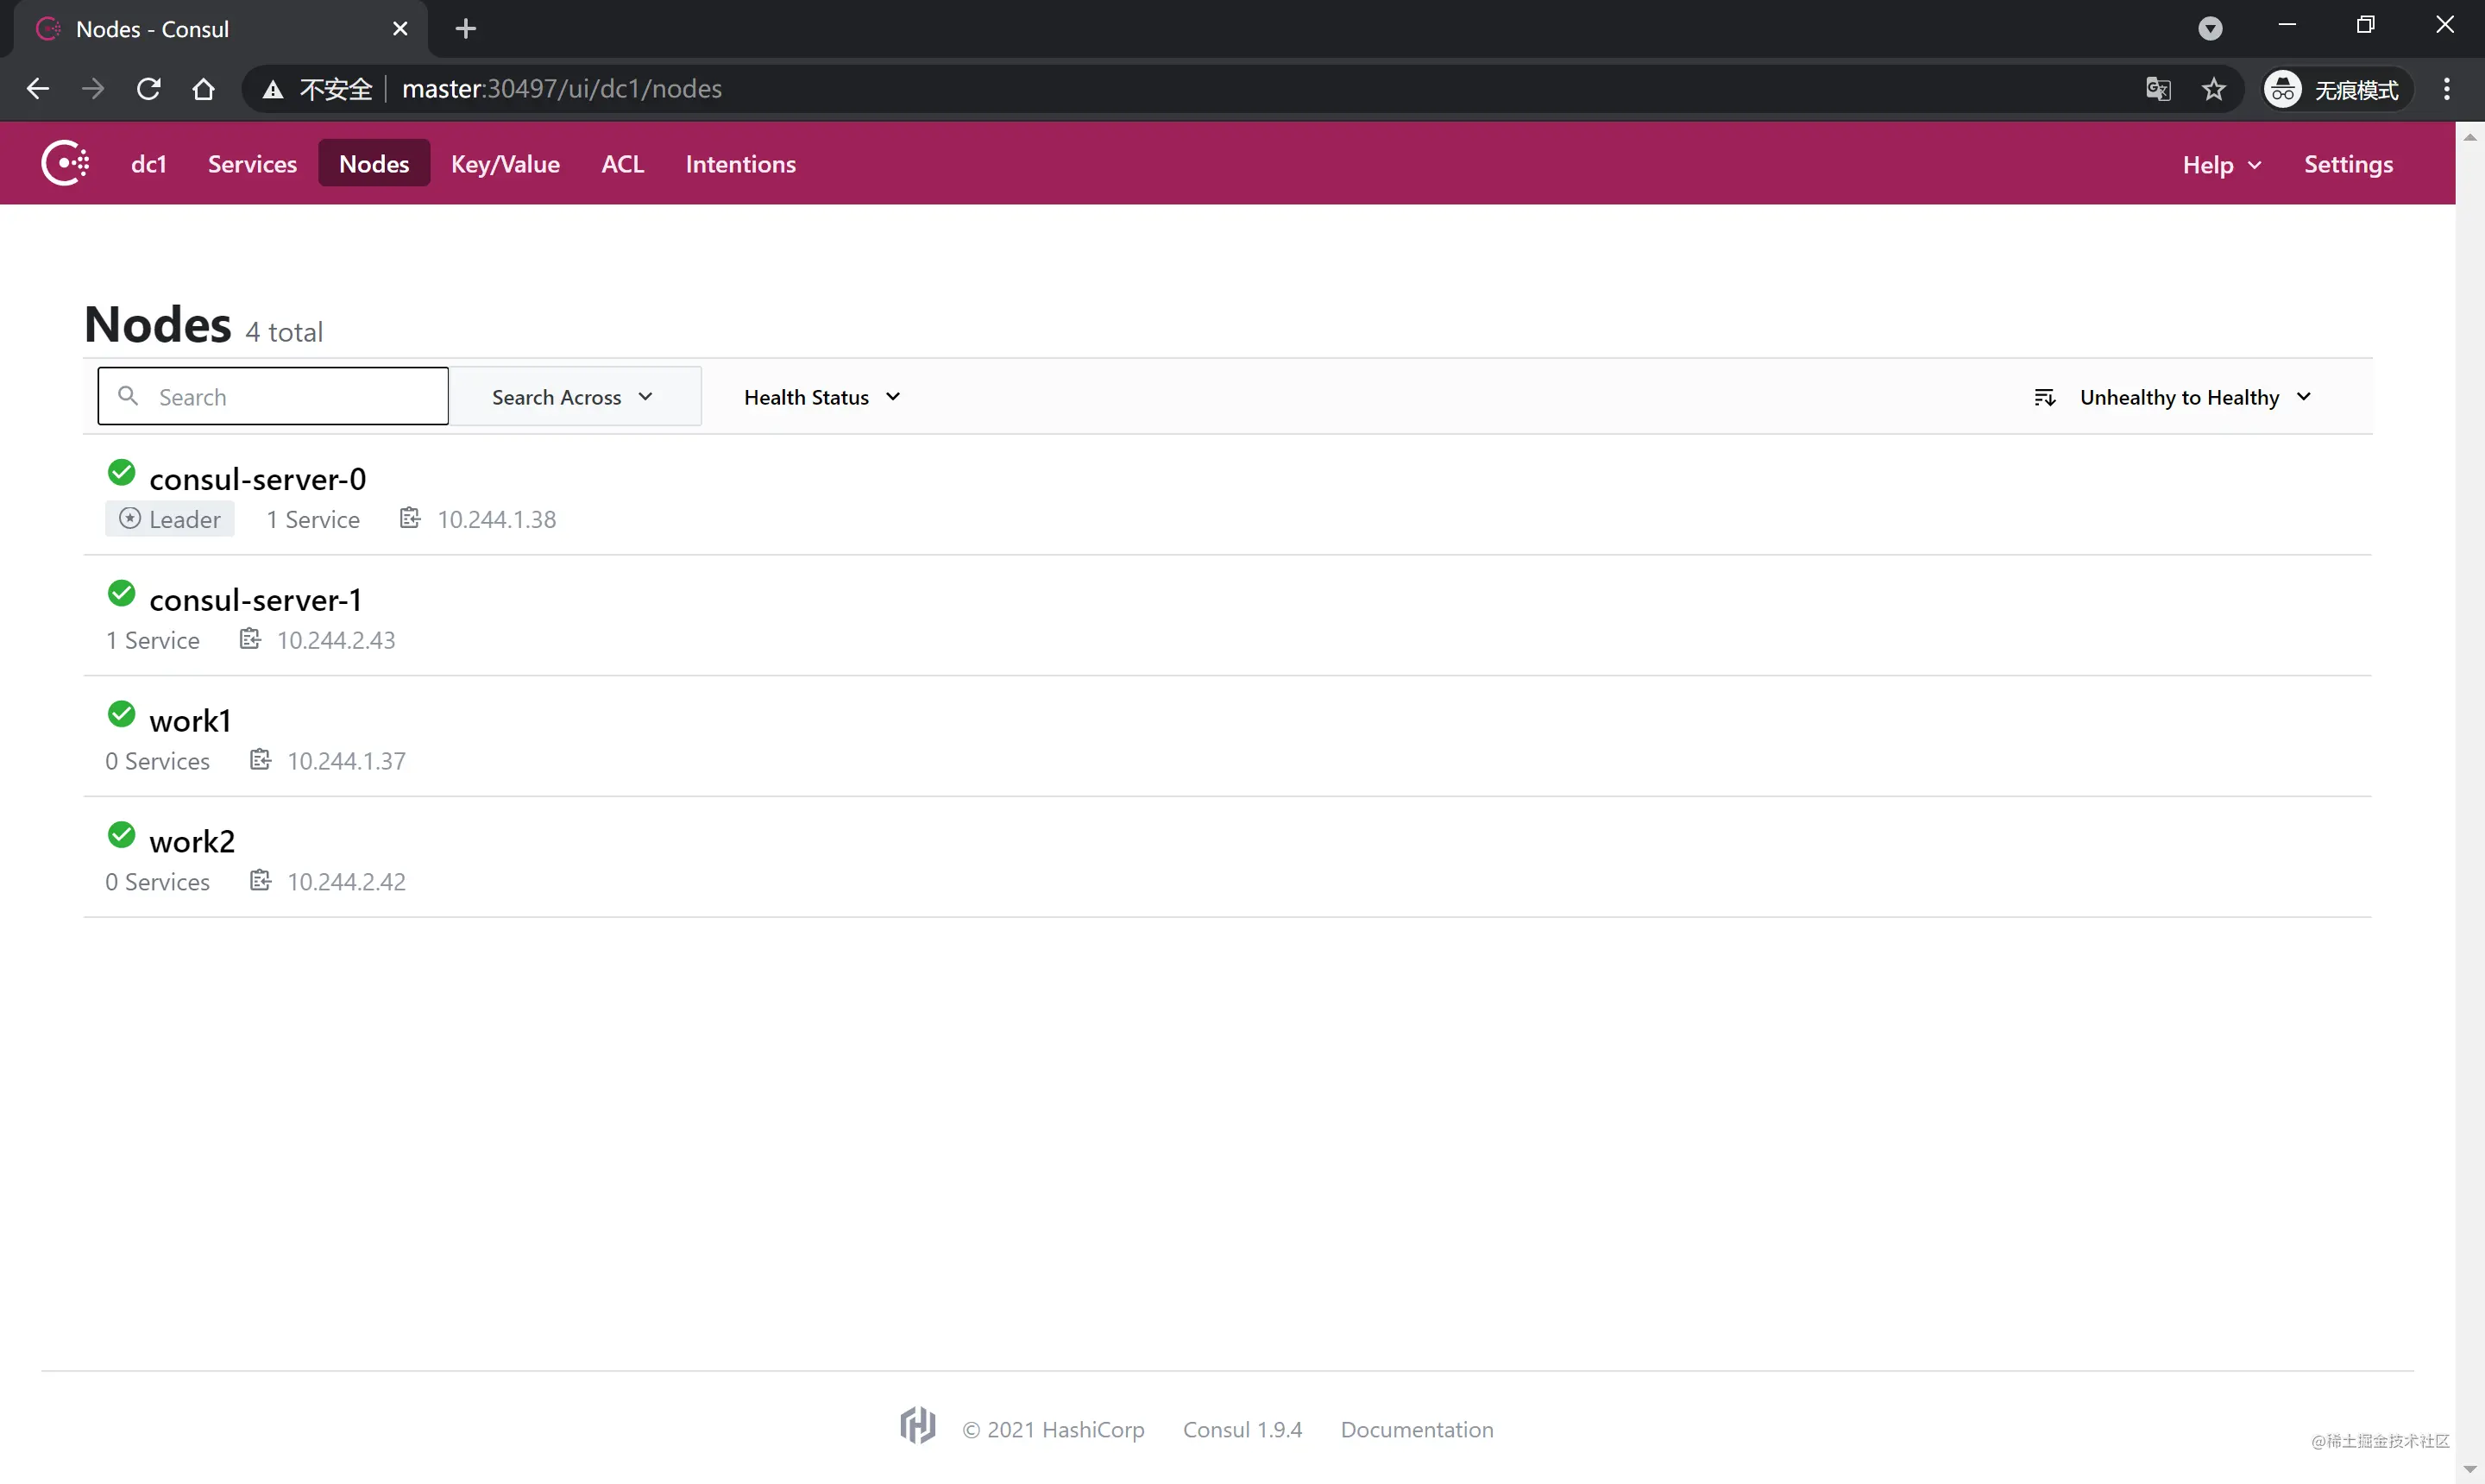
题外话
# 查看helm已安装列表
helm list -n consul
# 卸载
helm uninstall hi-consul -n consul
# 更多
helm help